
After relocating back to Derry in Ireland from Leeds, one of the first jobs was getting the new studio room under control acoustically.
The setup was fairly standard at first: heavy treatment in the corners, broadband absorption around the room, and a few panels with reflective scatter plates either in front of or underneath the absorptive material. The idea was to tame the low end without completely killing the room. I didn’t want the space to sound too dead, especially for writing, mixing, and general day-to-day work.
But there was one issue I couldn’t ignore: the ceiling.
When standing under the listening position, if you clapped or hit something loud enough, you could hear a nasty slap echo bouncing around. It was obvious that the ceiling needed treatment.
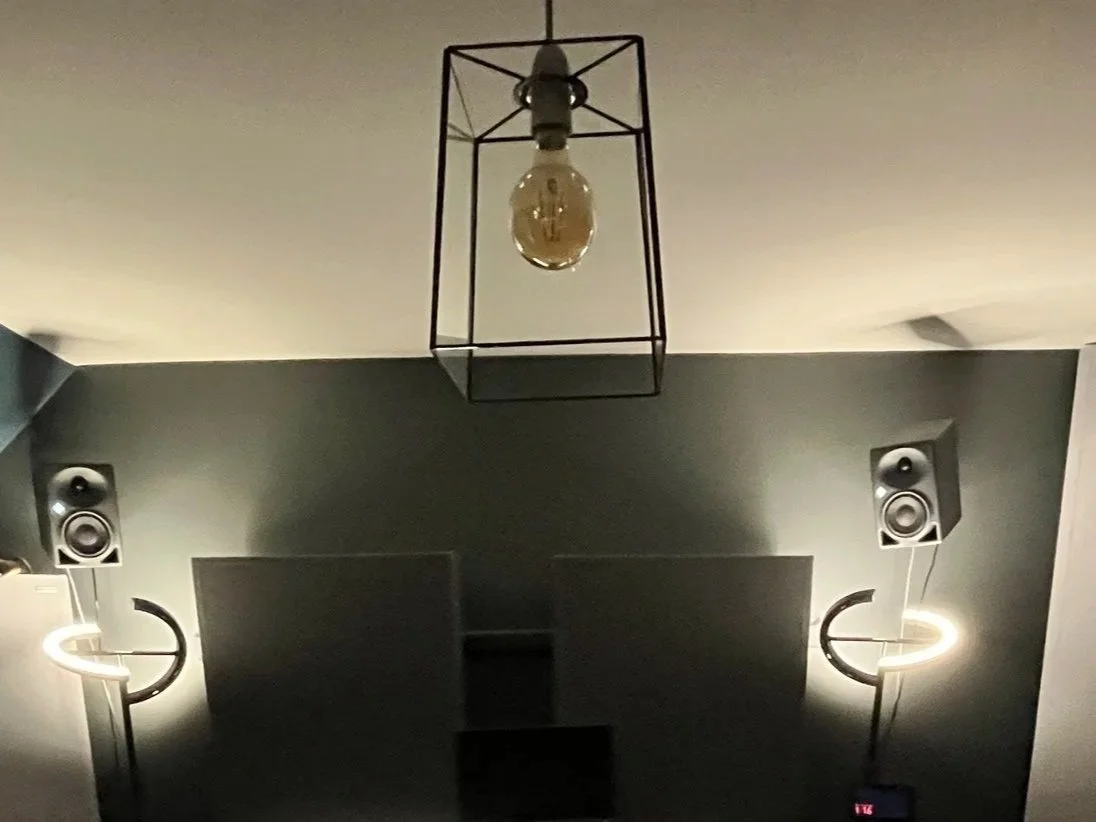
The untreated ceiling / room before the cloud]
The other issue was lighting…
I had gone for a dark, moody studio vibe, which I loved, but it made the room pretty dim. Turning on the centre light helped, but that was going to become useless once a ceiling cloud was installed. So the thought was simple:
What if the ceiling cloud could also be the light?
The Original Plan
I found a company called Blue Frog Audio that made exactly the kind of thing I was after: an acoustic ceiling cloud with a wooden frame and built-in spotlights. It had the rustic character I wanted, and it would solve both problems at once: ceiling reflections and lighting.
I placed the order and had a few messages back and forth to make sure everything was set up correctly. Unfortunately, it never materialised.
From what I gathered, the guy running the company had a lot going on. There was mention of a large school or college installation, then an injury, and eventually I stopped hearing back. He had done work for me before with no bother, so I don’t think there was any bad intent. I genuinely hope he’s alive and well.
Thankfully, I had paid through PayPal, and their buyer protection period was six months. I made the refund request in the final month, so I was just about eligible.
That left me back at square one.
Going DIY
I still wanted the same thing: a rustic wooden ceiling cloud with lighting. I didn’t really want to compromise on the vibe, and luckily, my father-in-law Sean is a carpenter.
We sketched out a design that would fit two GIK bass traps, leaving a gap in the middle for spotlights. The plan was to use the spotlights when needed, but also install an LED strip hidden along the top of the frame for ambient lighting.
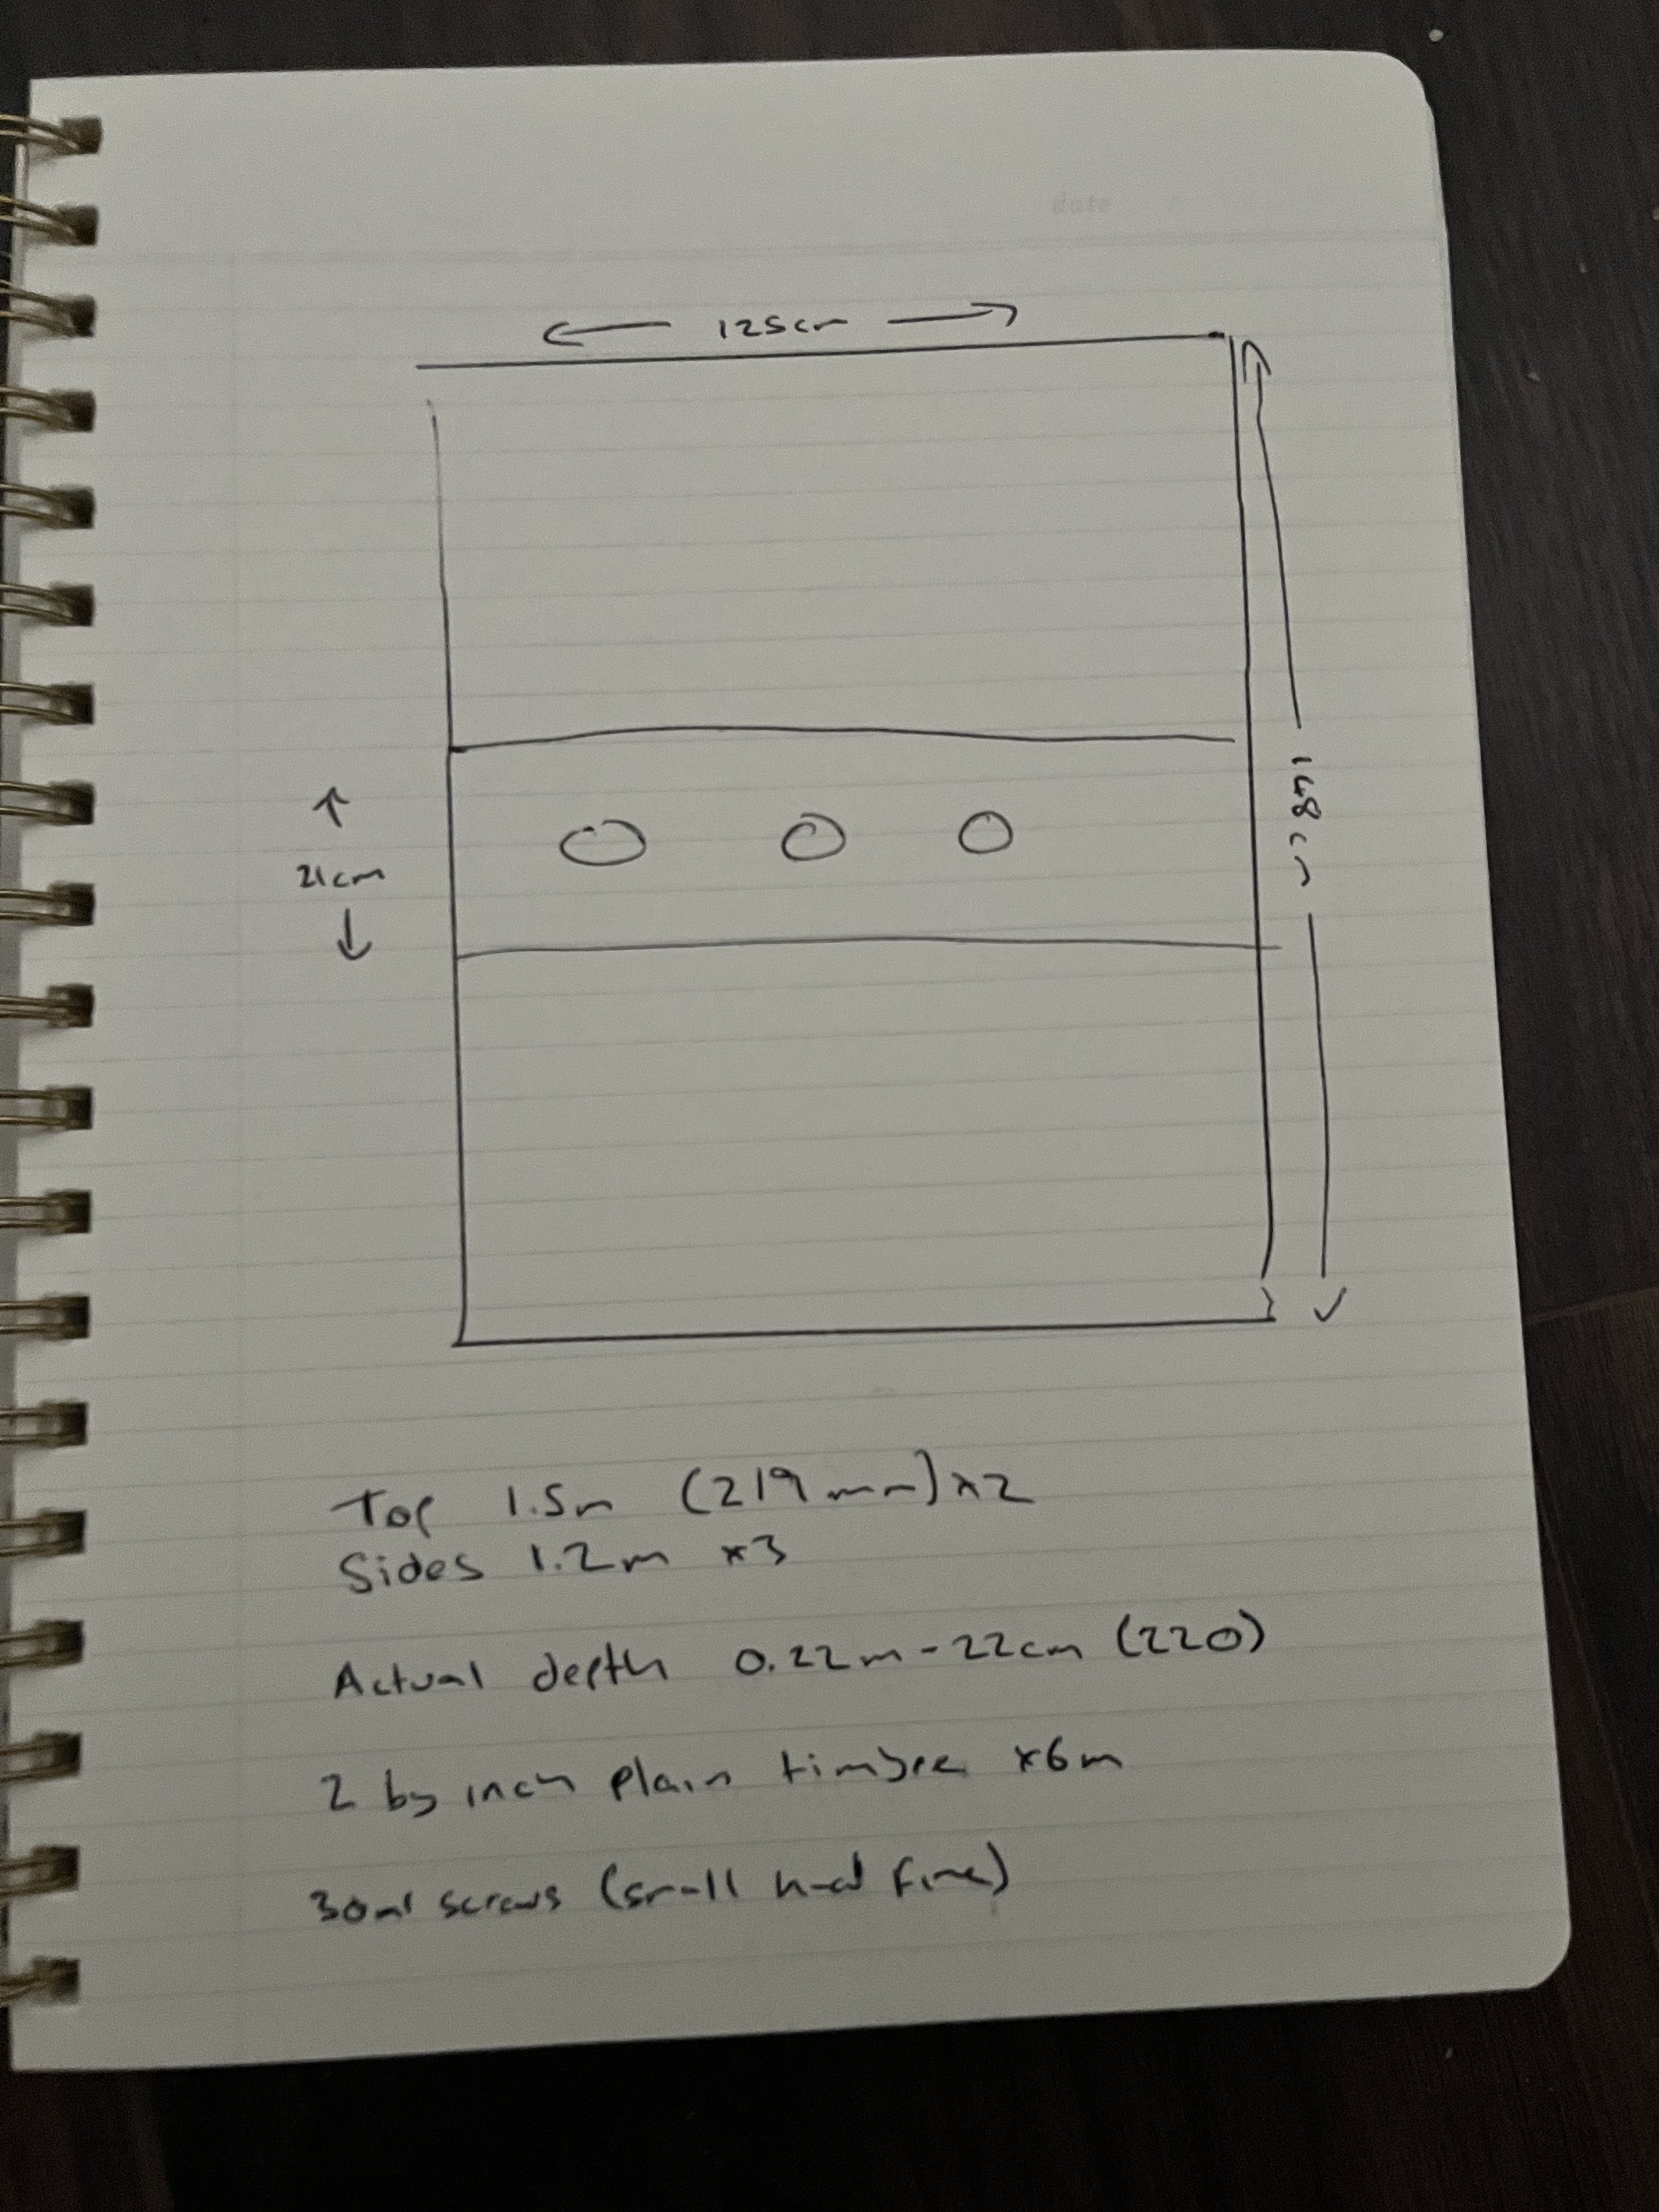
Sketches / rough layout / early measurements
We bought the timber, making sure the lengths were workable but still able to fit in the car. I also picked up some wood stain to get that darker rustic look.
At this point, I reached out to Chris, an electrician who had done some work for me in the studio before. His advice was to build the cloud first, then he would replace the existing ceiling light fitting with a connector system: one connection point on the ceiling, and another on the ceiling cloud. When it came time to hang the cloud, we could simply connect the two together.
Building the Frame
After staining and cutting the timber, it was time to build the frame.
We used softwood timber to wrap around the GIK acoustic panels, then added stronger timber battens to keep everything tight, secure, and structurally sound. The wood had a little bit of warping, but honestly, I think that added to the character of the whole thing. It leaned into the rustic feel rather than working against it.
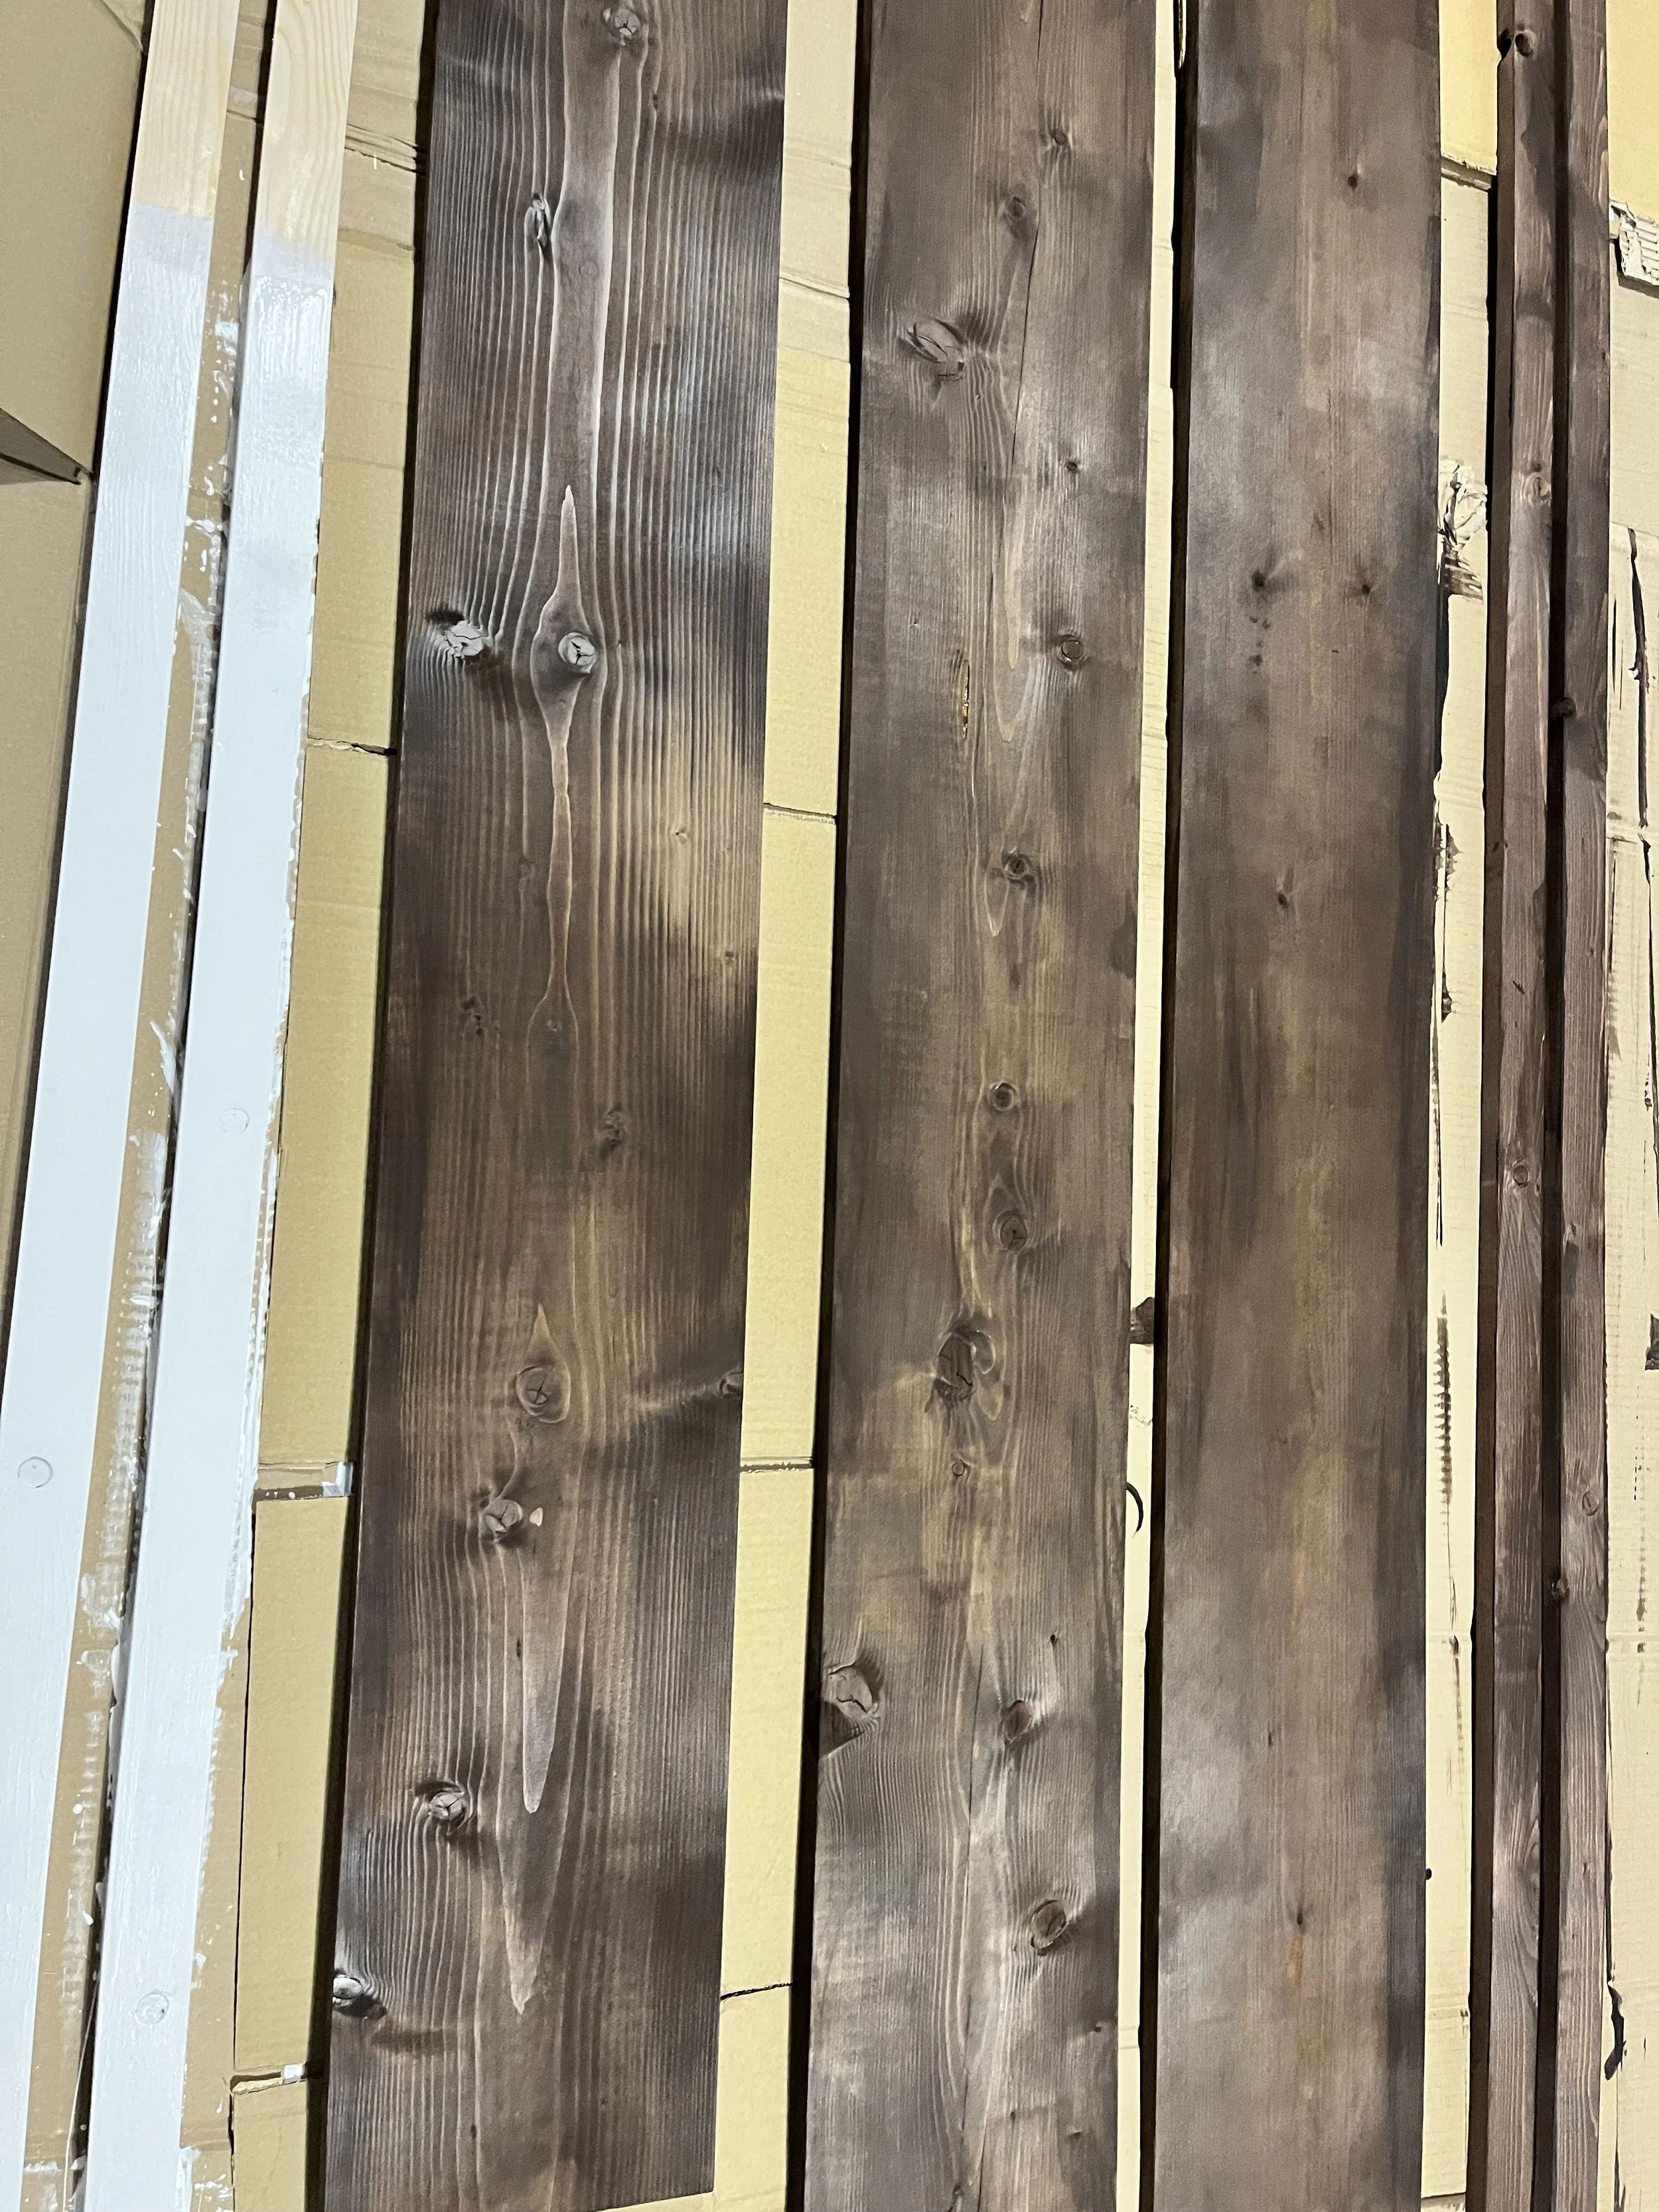
Stained timber before assembly
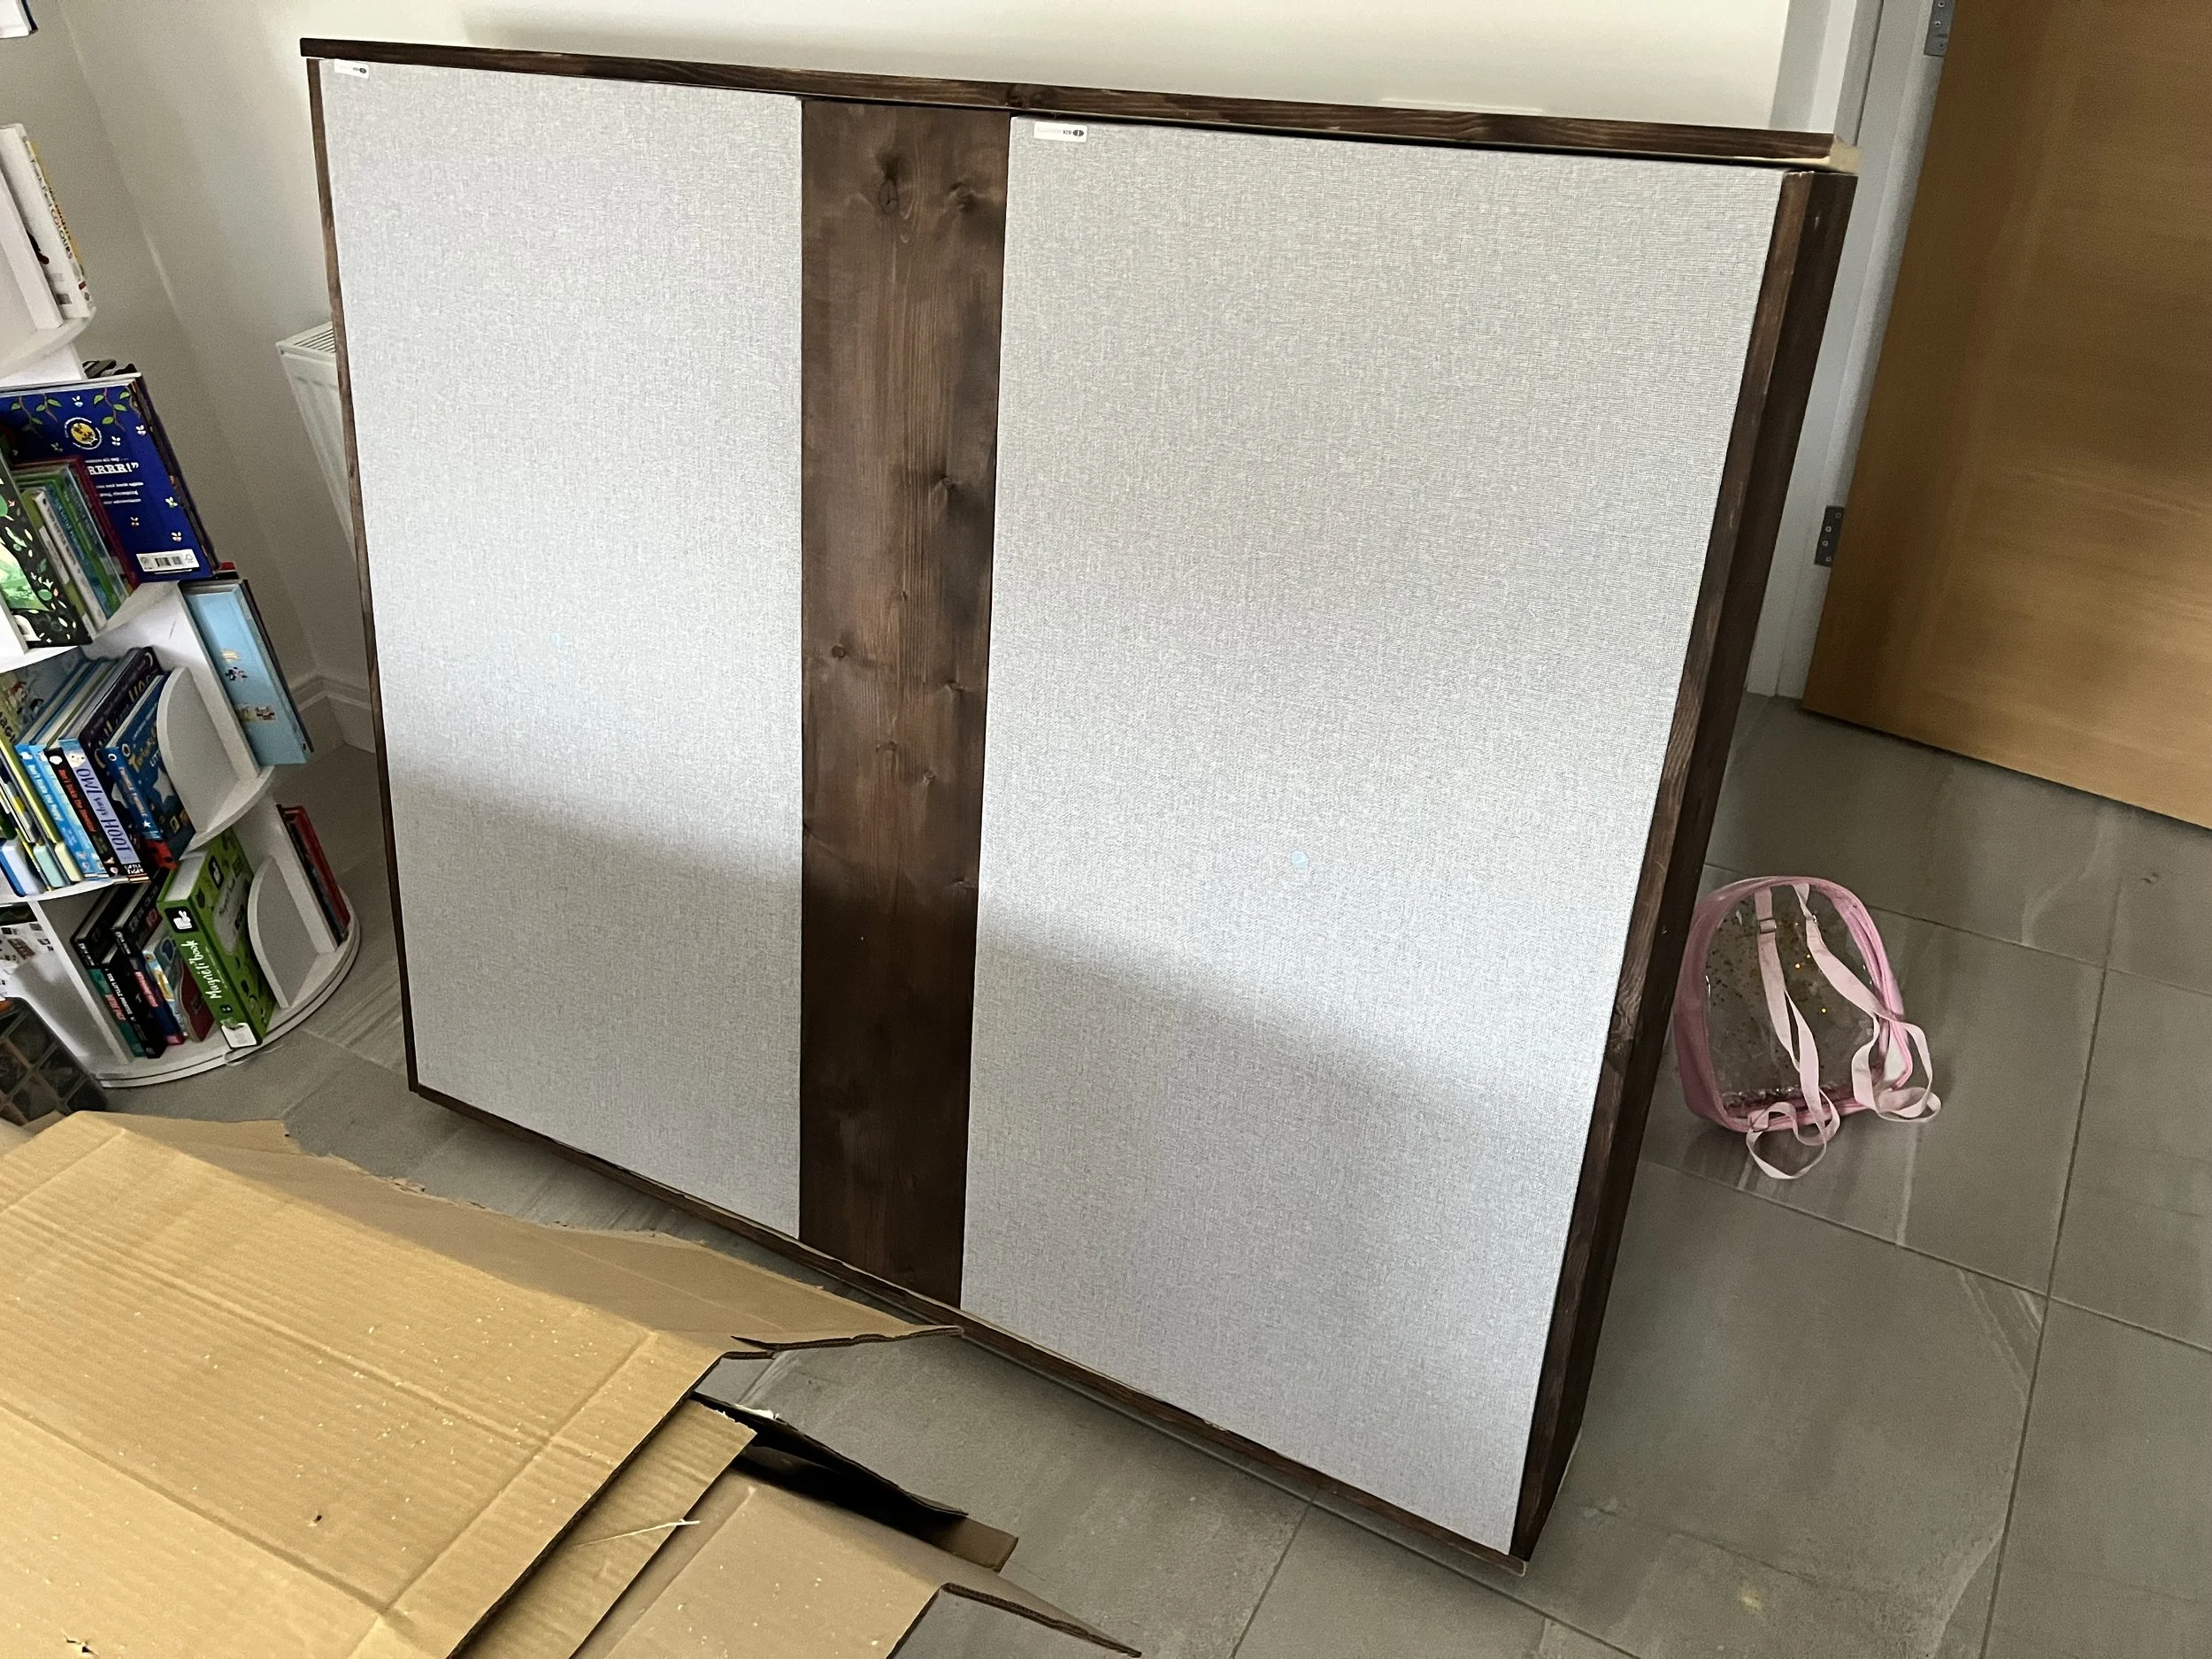
Frame assembled, no front facing frame border yet
Once the frame was built and the acoustic panels were in place, I was surprised by how heavy the whole thing was. This was no longer a simple lightweight cloud. It needed to be mounted safely, because if it came down while someone was working underneath it, there would be no coming back from that.
Before moving on, I noticed a few small areas I had missed while staining, so I touched those up. They were tiny details, but they would have annoyed me forever.
Where the frame joined together, some of the edges were a little rough. Still cool, but not quite as clean as I wanted. One option here is to use wooden frame fronts, which connect together neatly and hide some of the rougher edges. I added these and stained them too.
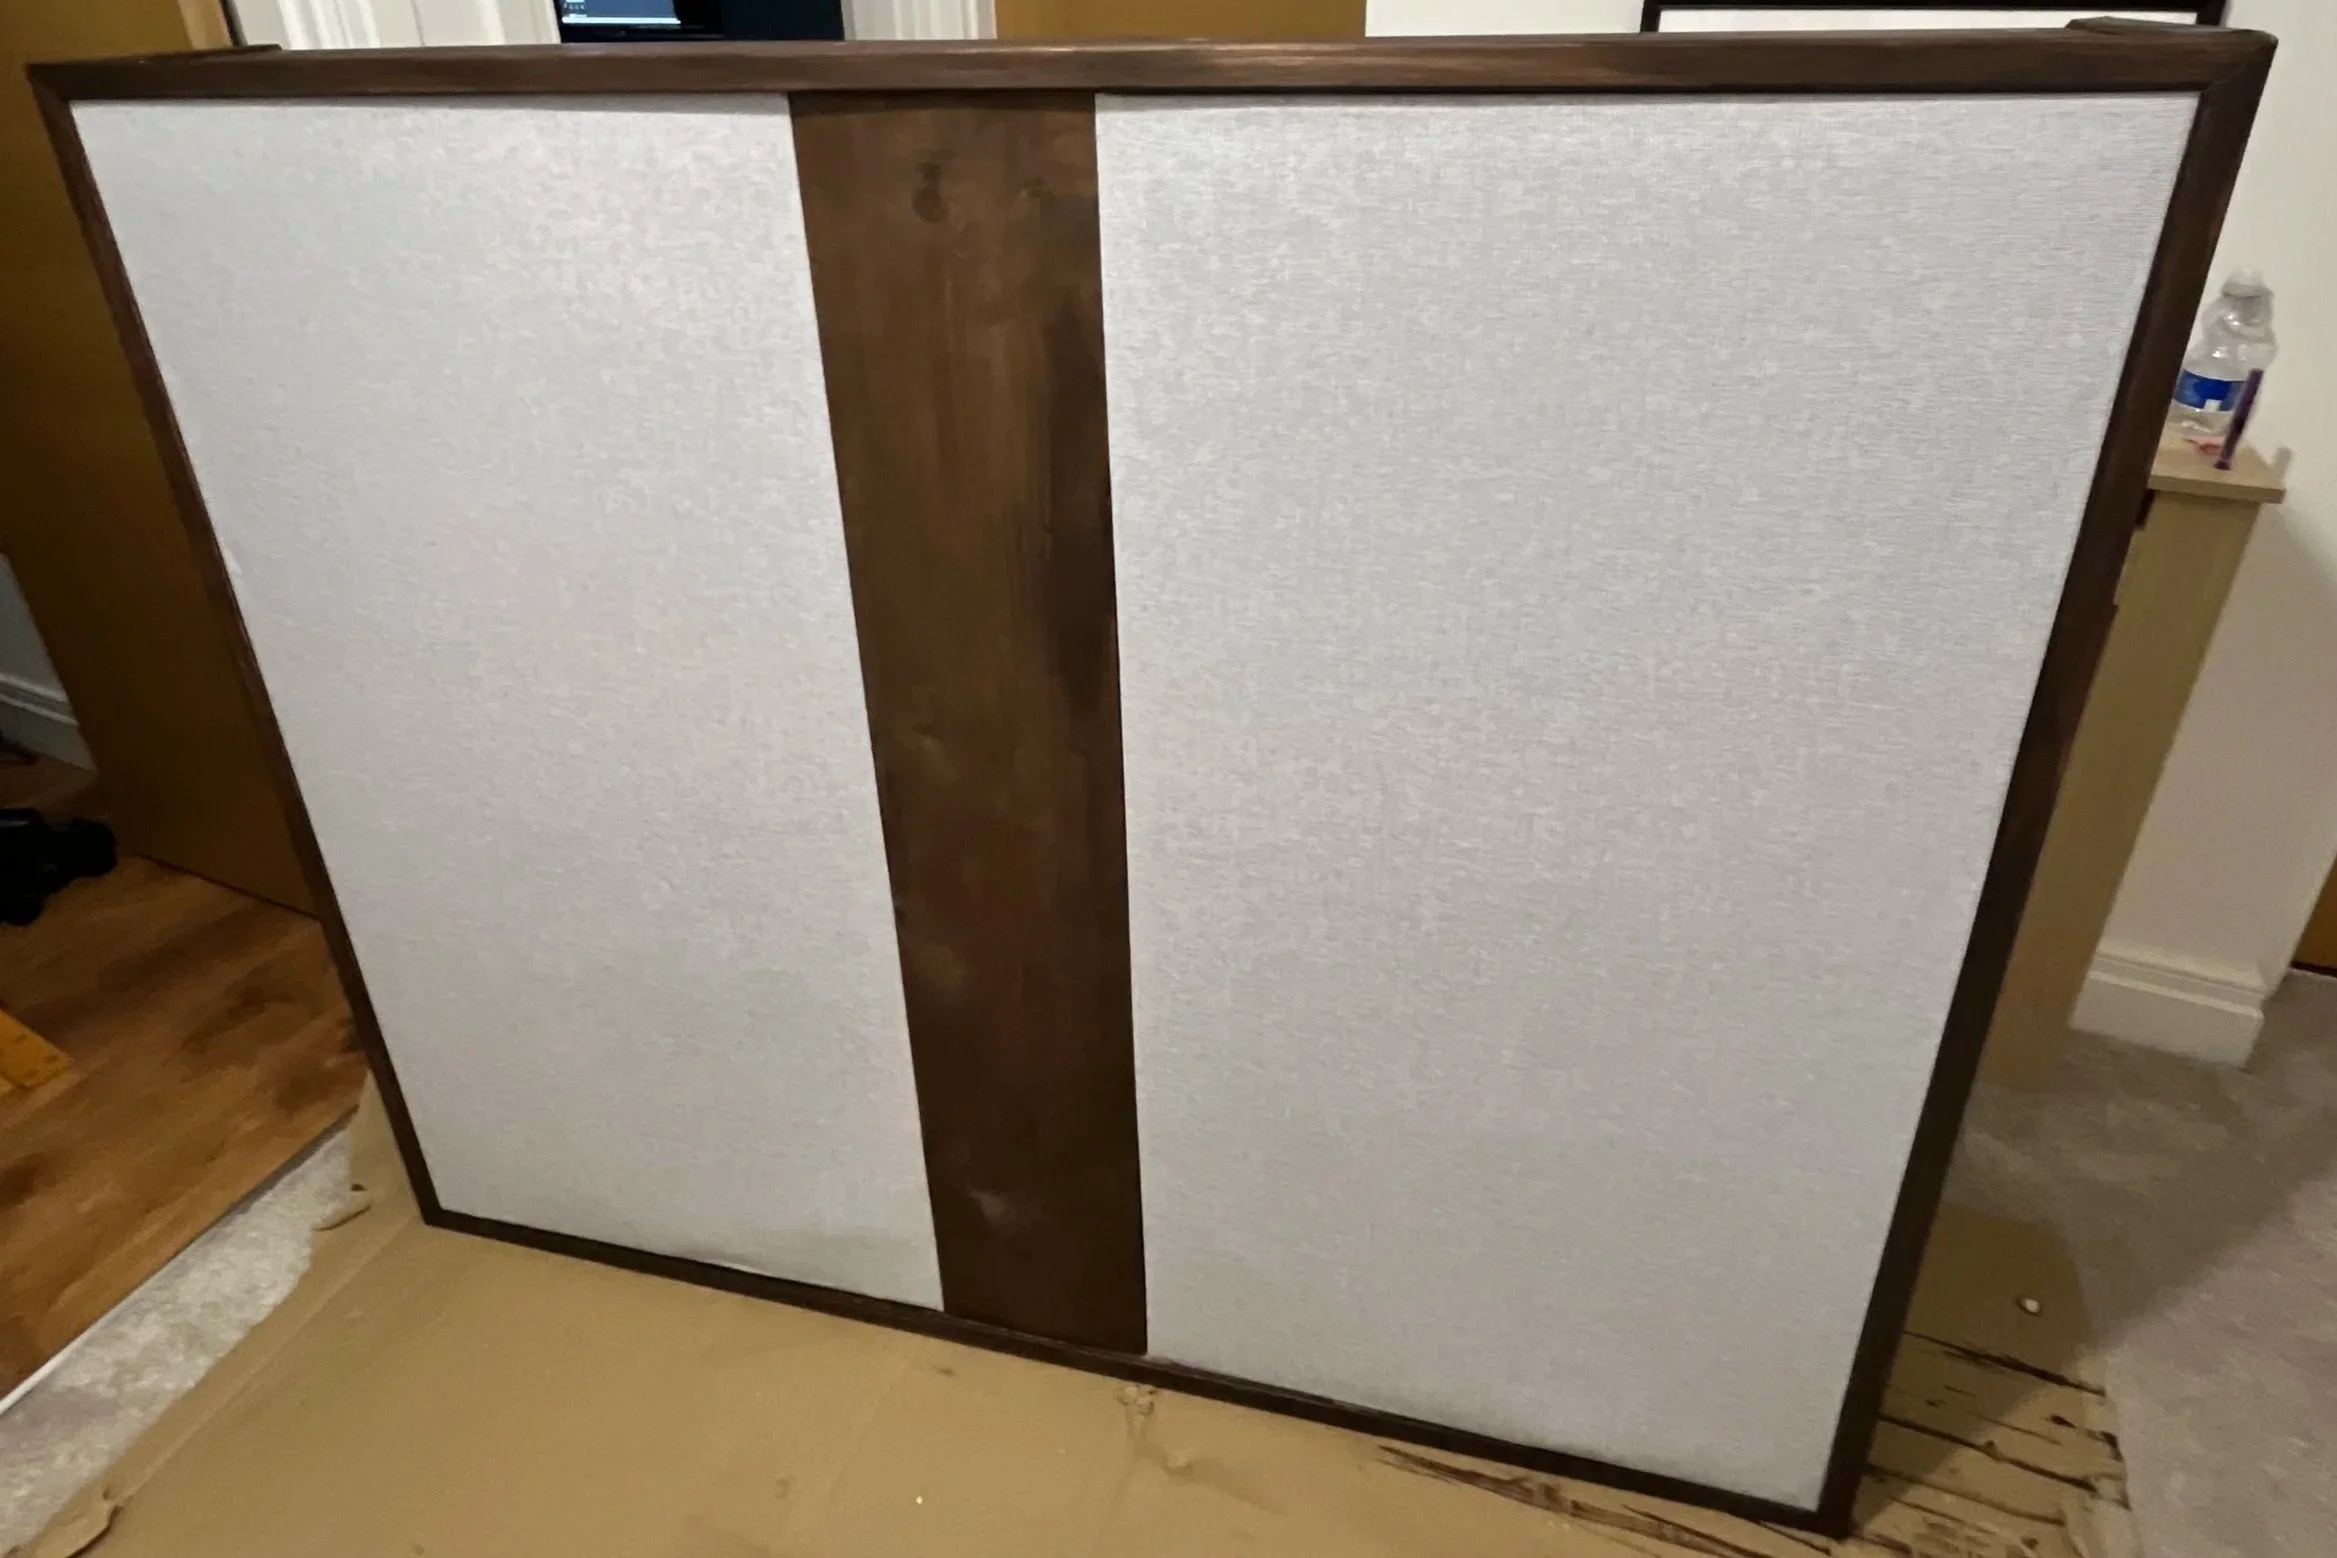
Frame front with front facing frame border
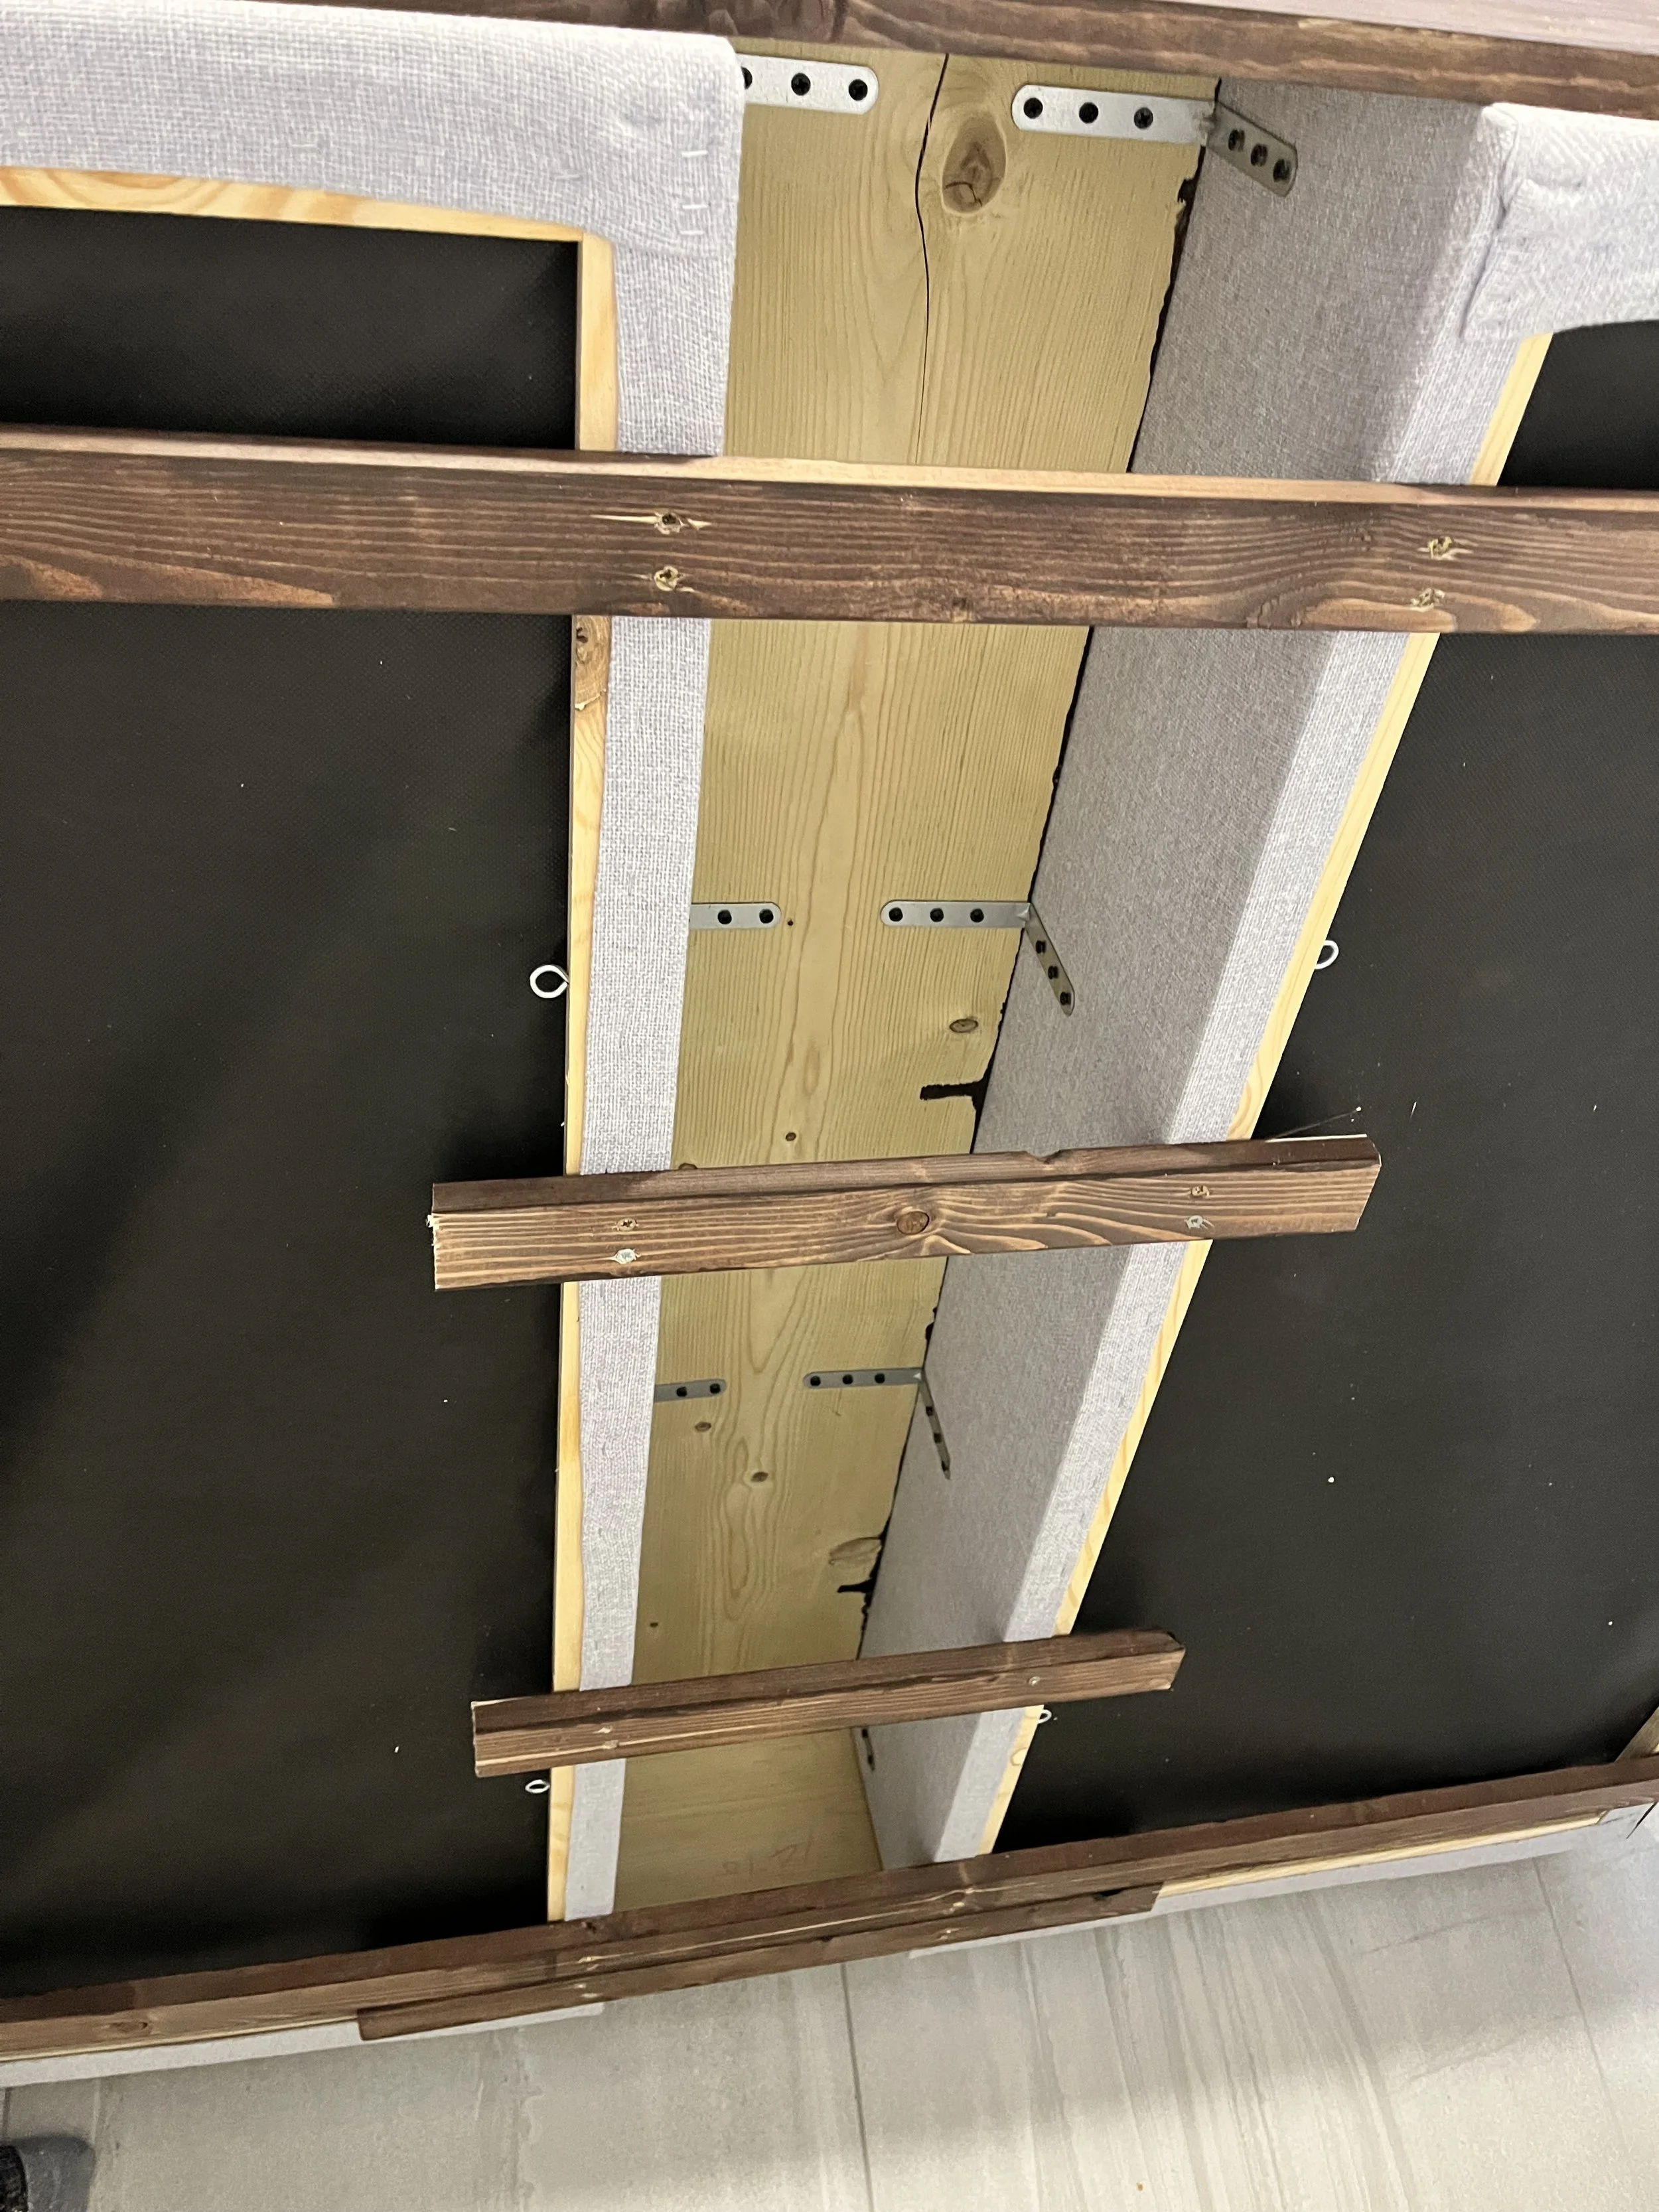
Frame back
Preparing the Ceiling
The ceiling needed just as much thought as the cloud itself.
We couldn’t simply screw it up and hope for the best. We had to make sure there were no pipes or electrical cables in the way, and we also needed to find secure ceiling joists. Because of the weight, fixing into plasterboard alone would have been far too risky.
To give us more flexibility, we secured wooden battens across the ceiling joists. This meant we could position the cloud exactly where it needed to be: above the listening position.
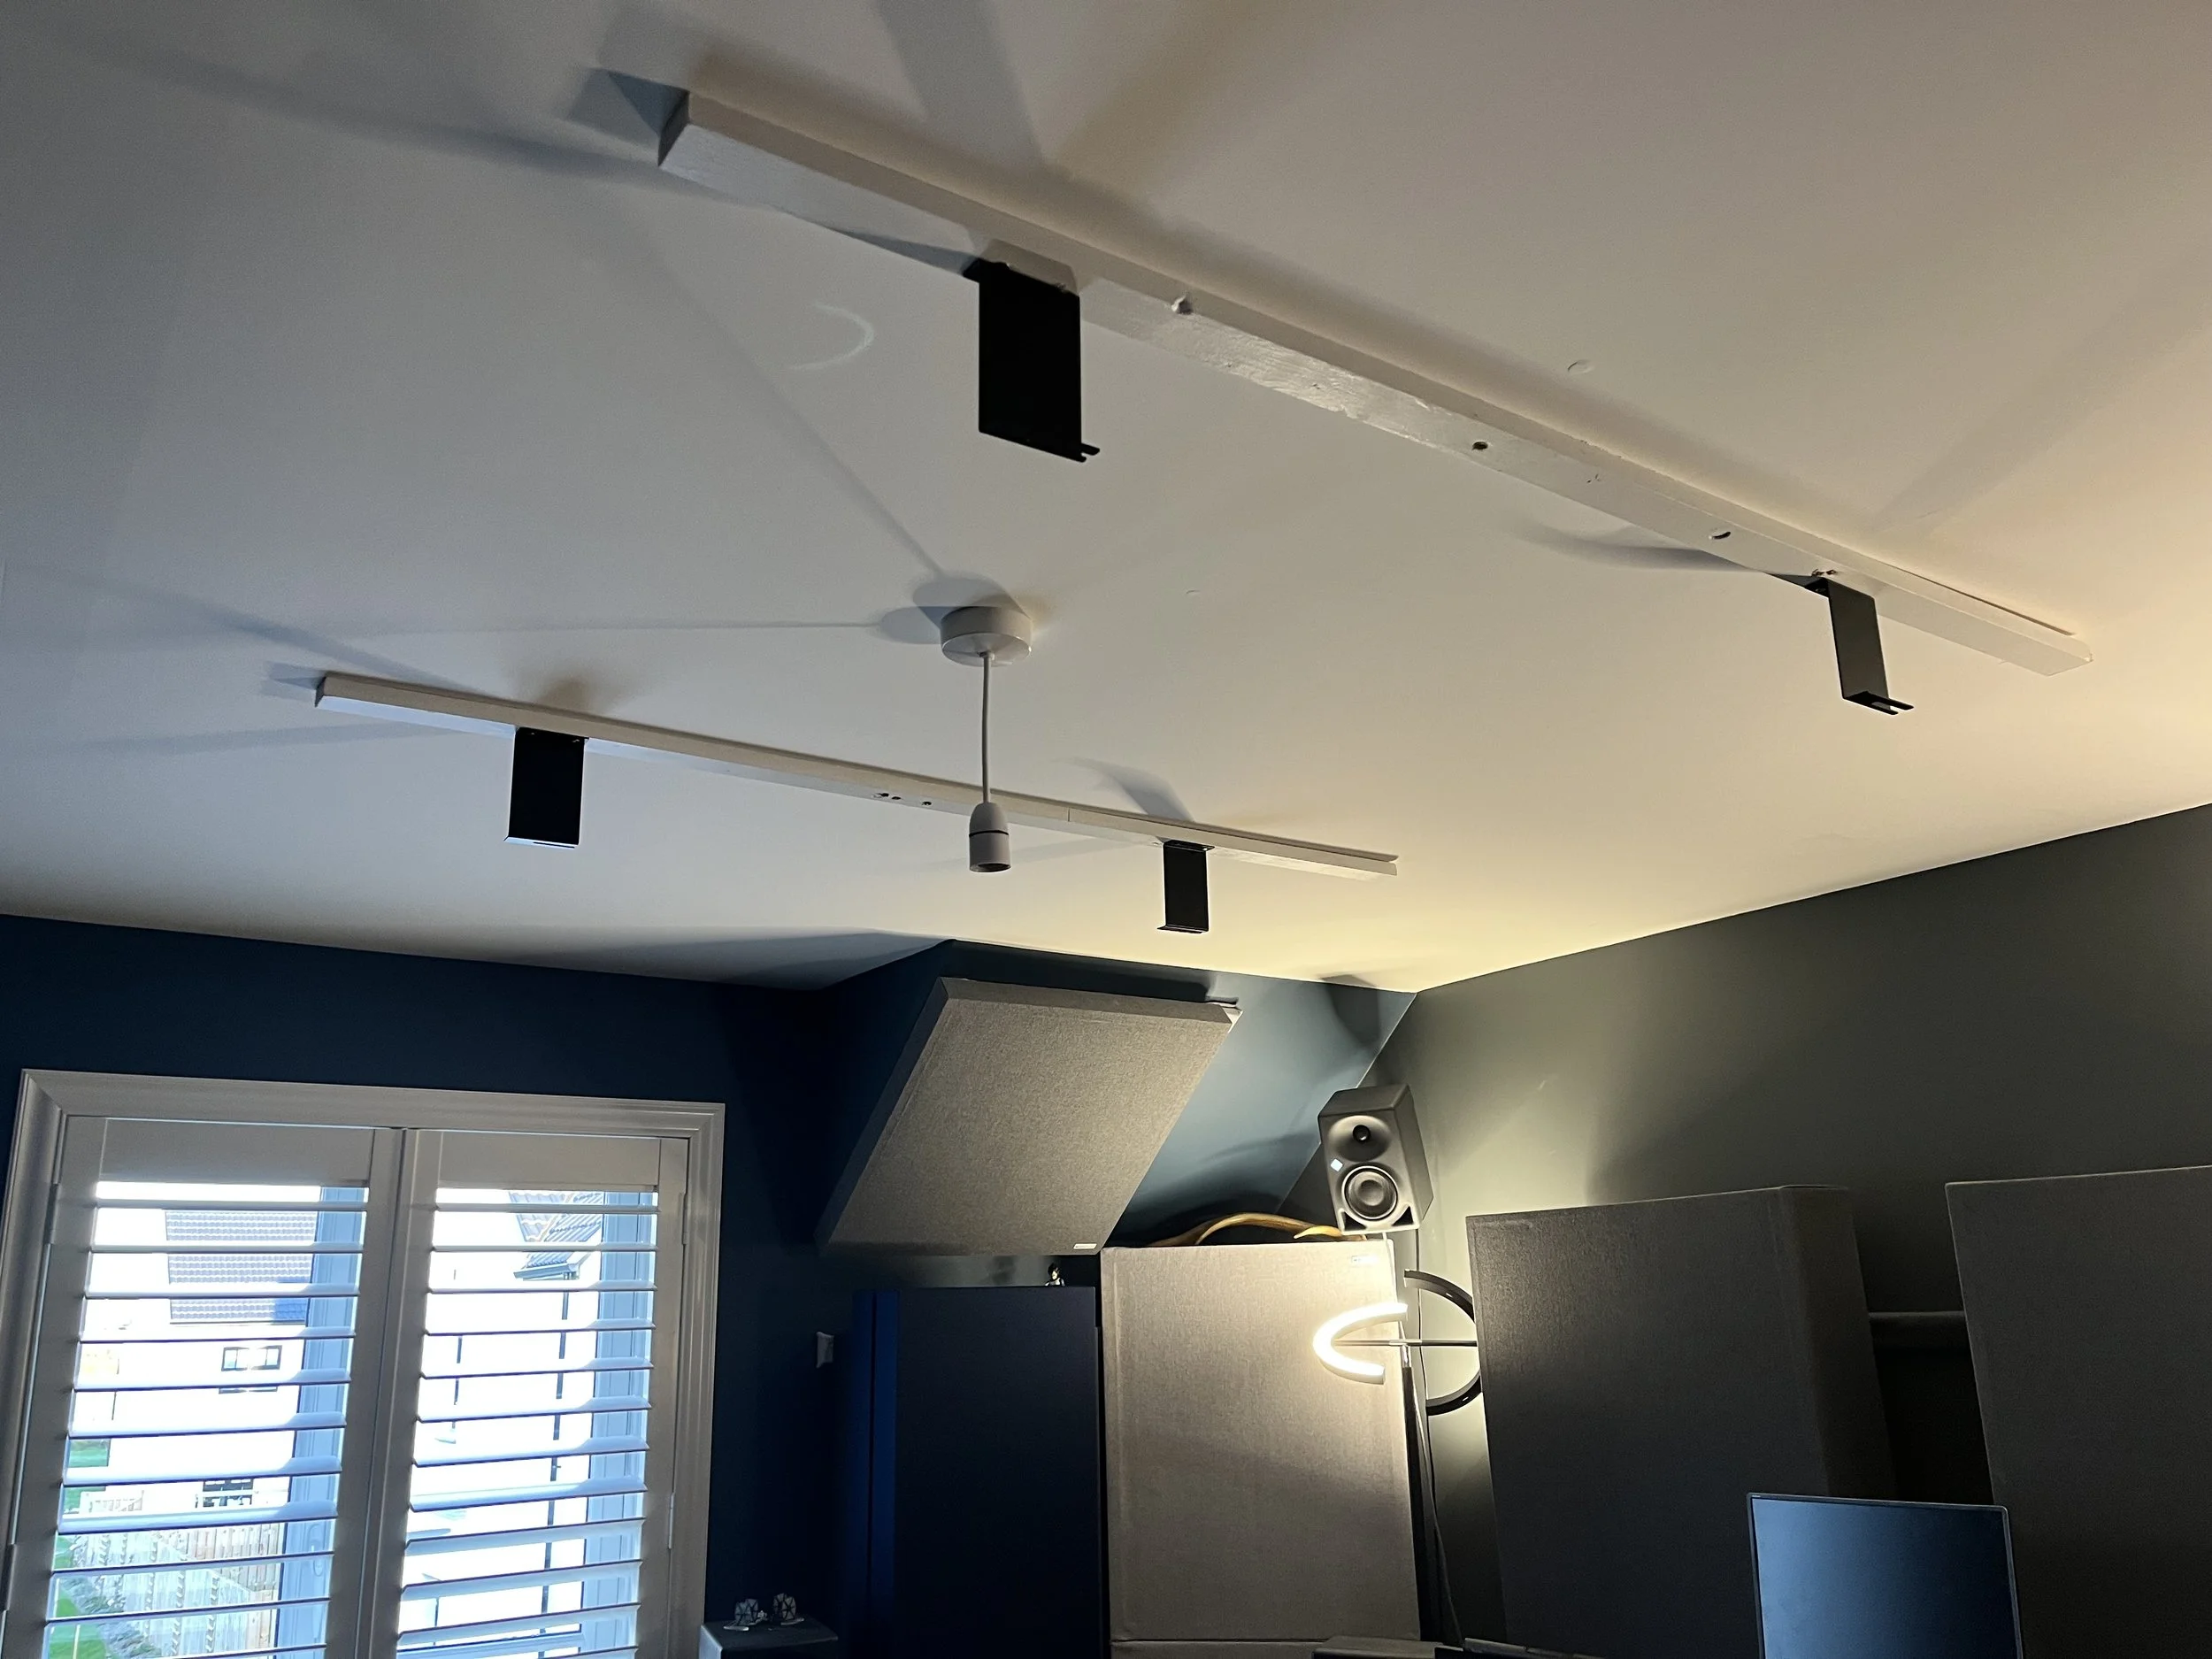
Ceiling battens installed with Gik ceiling mounts
Chris then came out and handled the electrical work. He did a fantastic job. The spotlights were connected to the main room light switch, while the LED strip was set up with a remote.
The LED strip ended up being the surprise hero of the whole build. It gives off the perfect ambient light and is bright enough to light the entire room on its own. That also meant I could remove the floor lamps, saving both floor space and plug sockets.
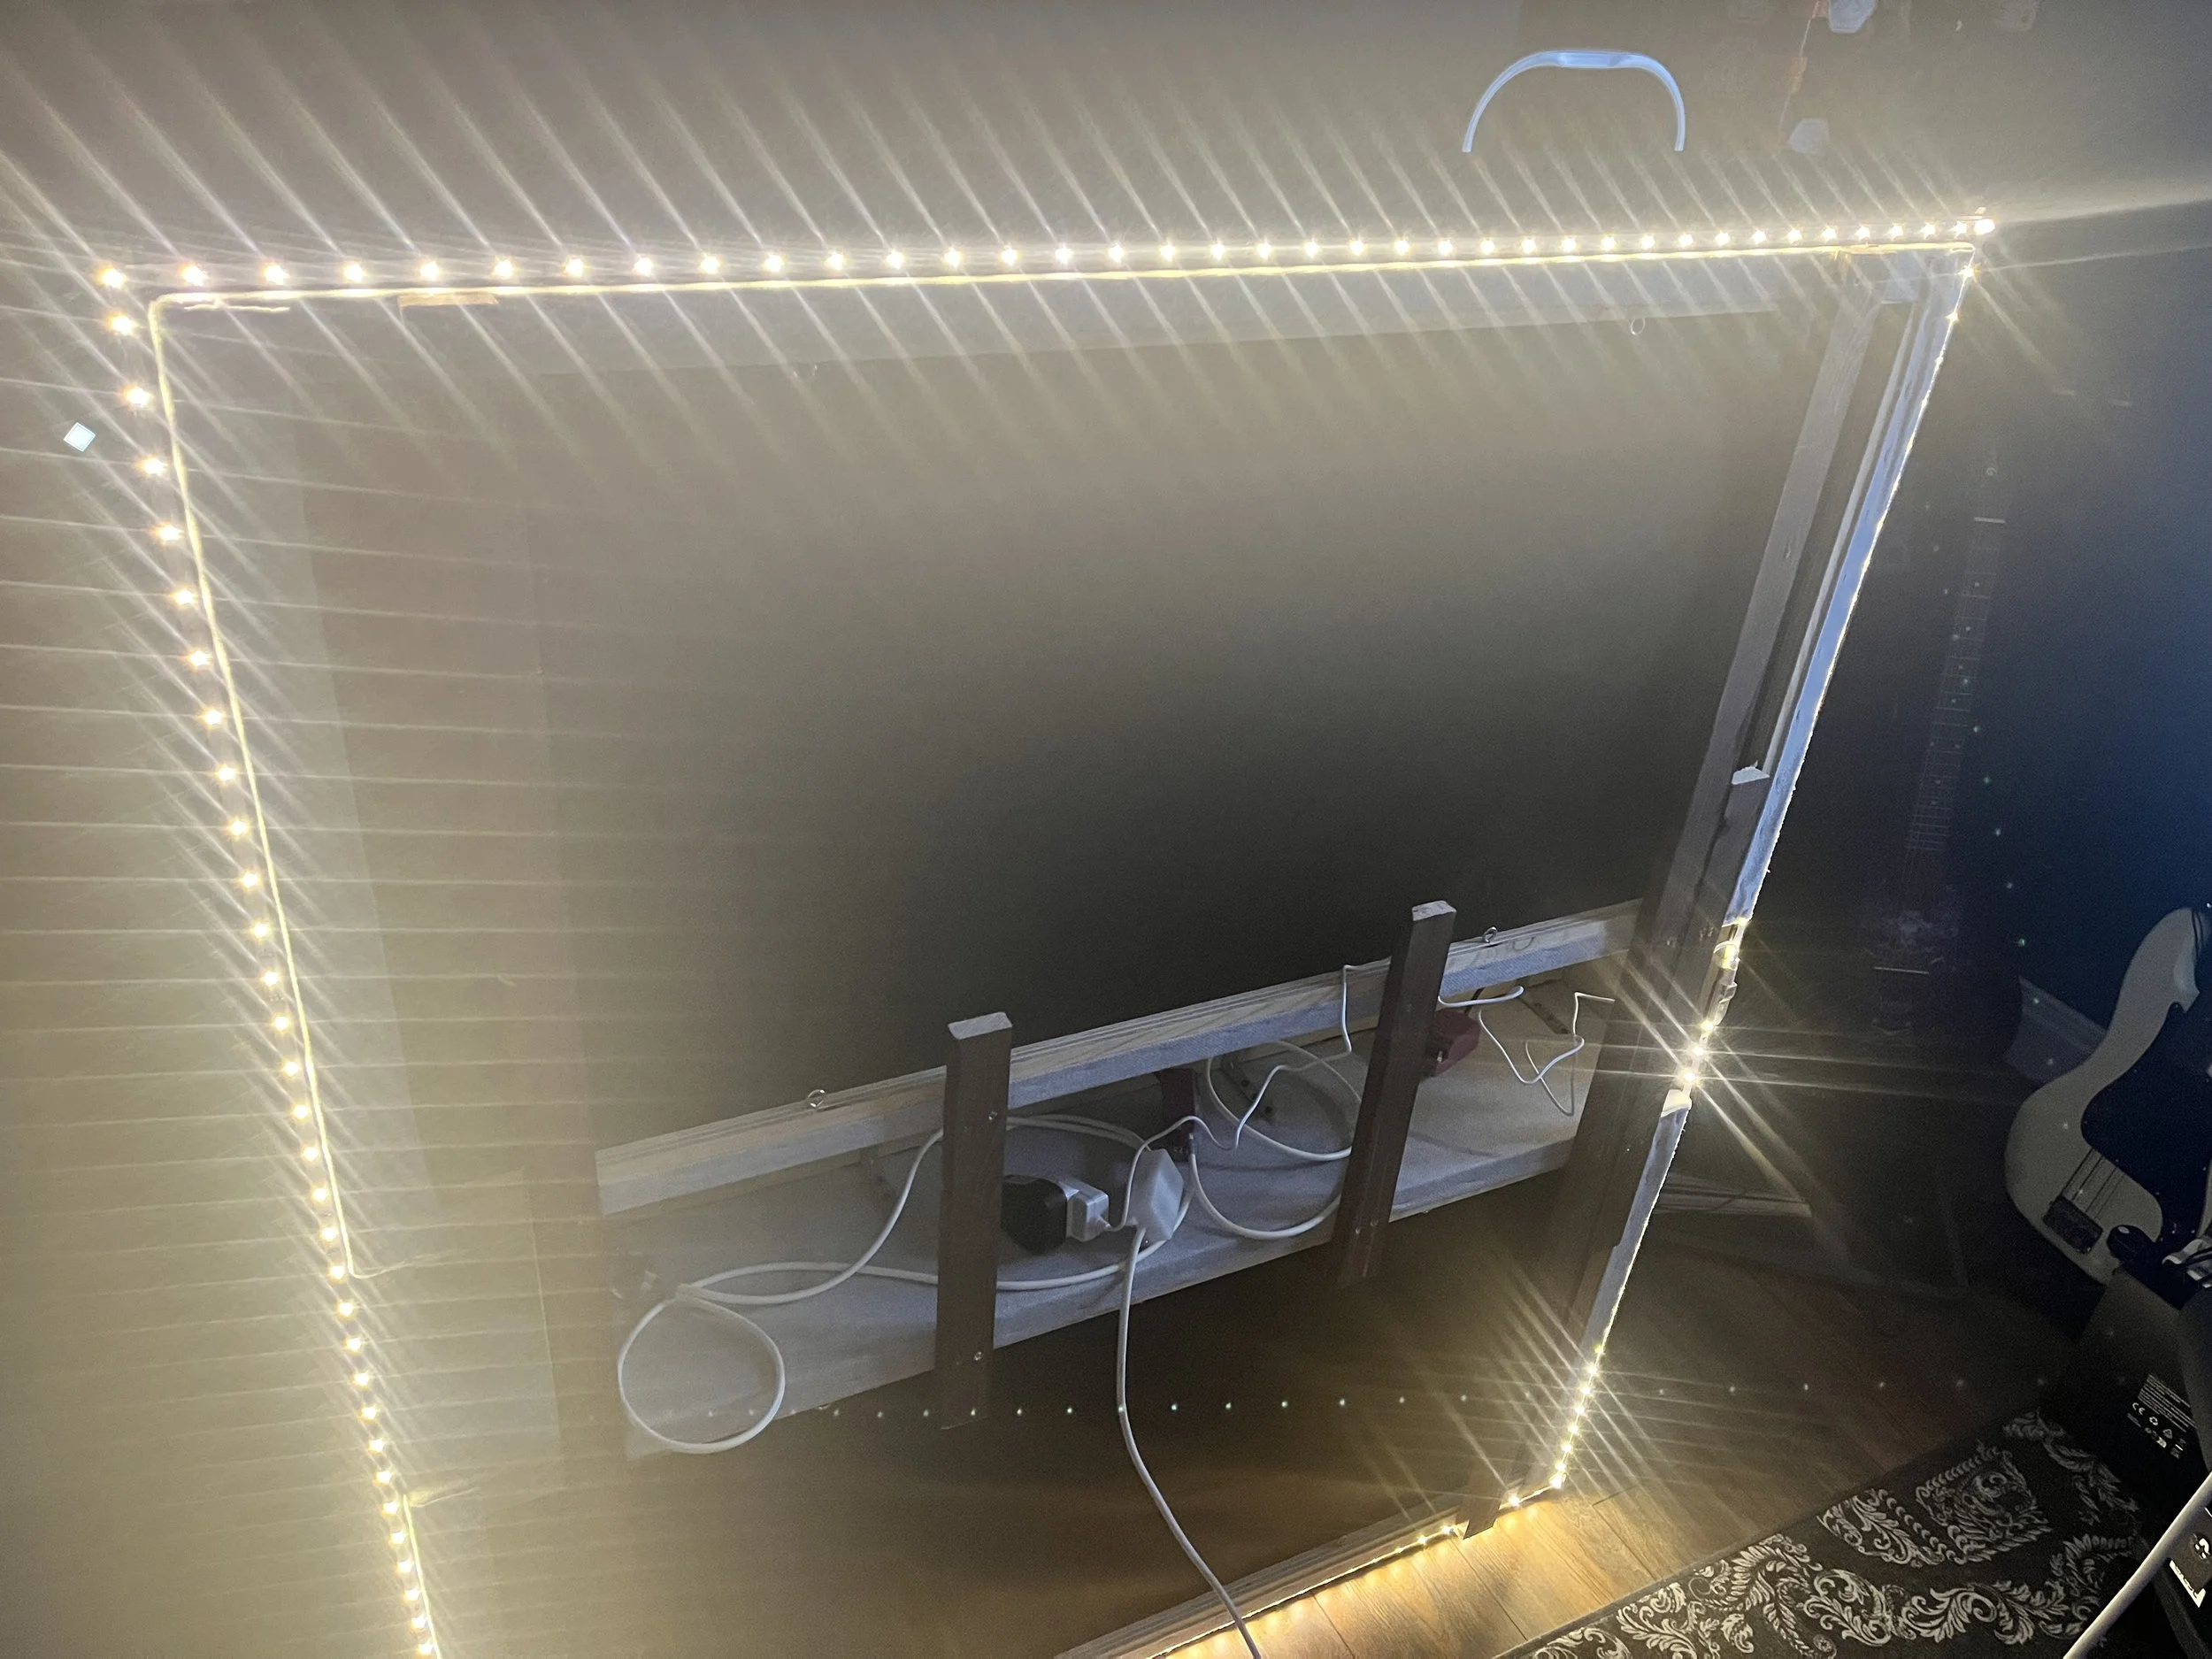
Grounded lighting test
The Hanging Problem
Before hanging the cloud, I originally planned to use GIK’s recommended ceiling attachments. Under normal circumstances, they would have been fine. But this build was considerably heavier than a standard panel.
To be safe, I bought two pairs of mounts. The idea was to have four secure connection points. In practice, though, it just didn’t work.
It took two people to lift the cloud safely overhead, while another person on ladders tried to hook everything into place. Arms were burning, the weight was awkward, and getting all four connections secured safely just wasn’t happening.
So Sean suggested a better solution: chains!
It would be stronger, safer, and actually suited the look of the cloud better.
We swapped the GIK mounts for heavy-duty hooks. The chains could wrap around the ceiling cloud battens and connect directly to the hooks above. One major advantage of this approach is that you can count the chain links and easily adjust the height of the cloud.
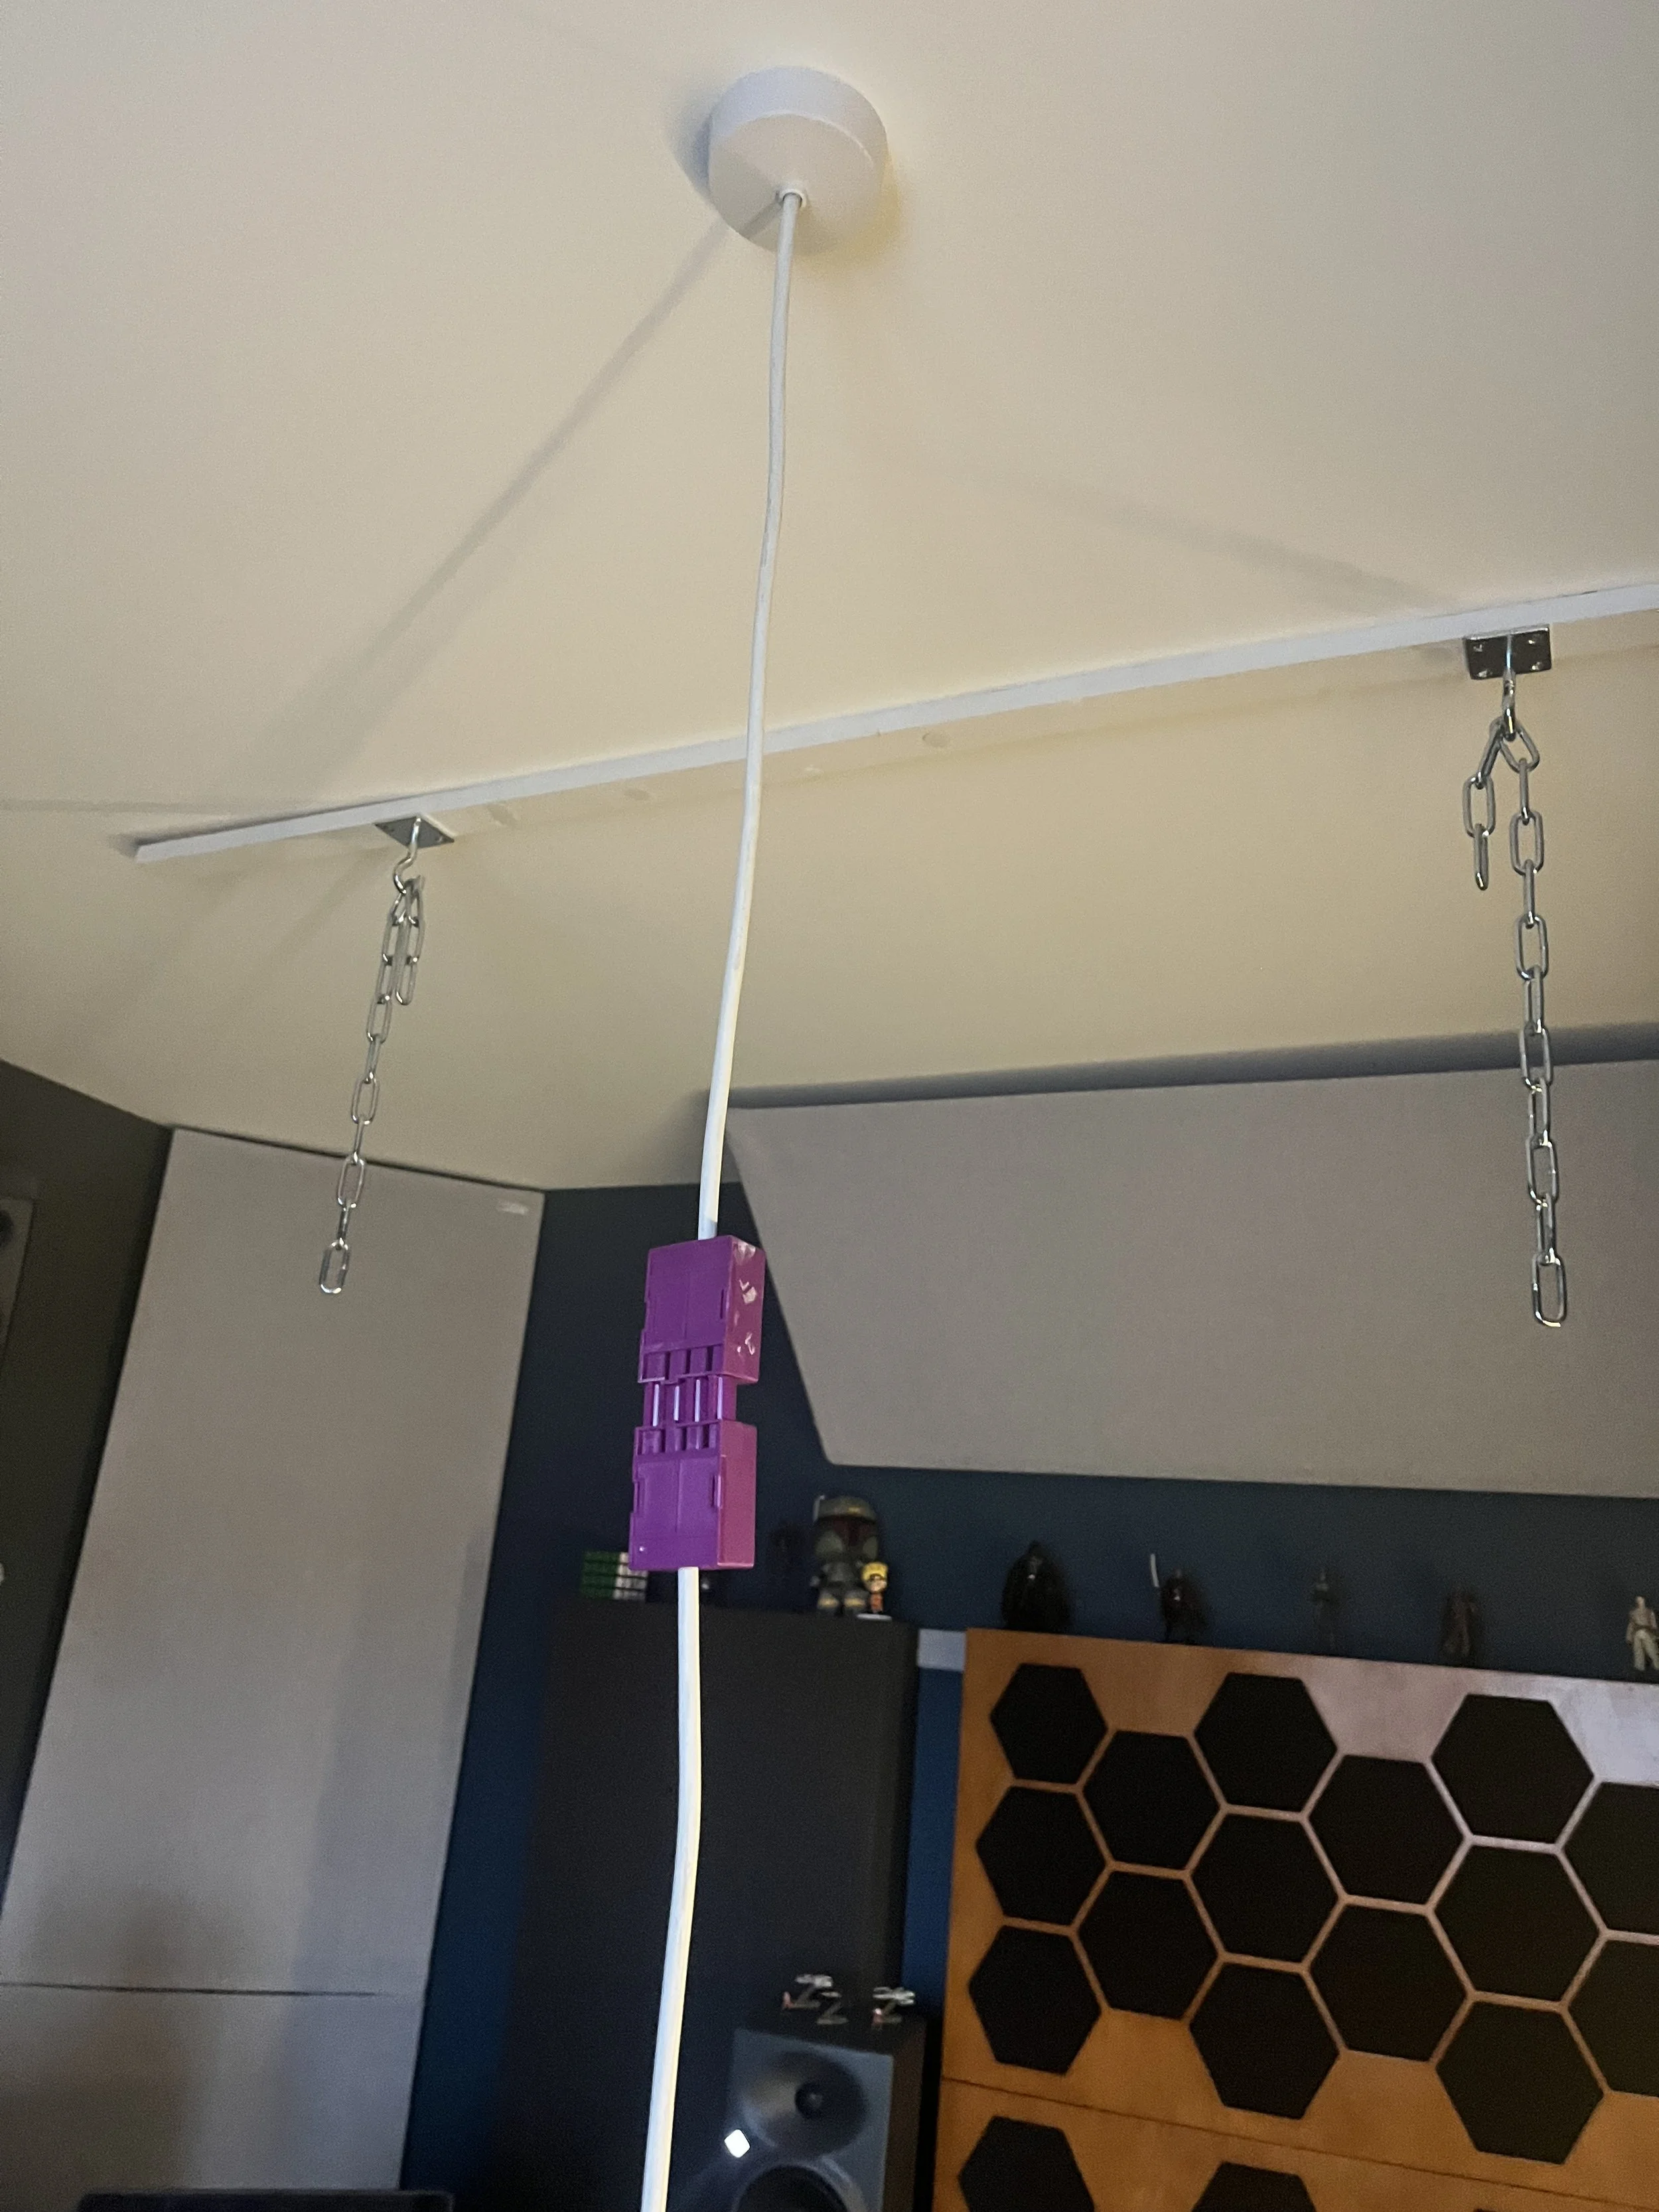
Chains connected to ceiling baton via heavy duty hooks.
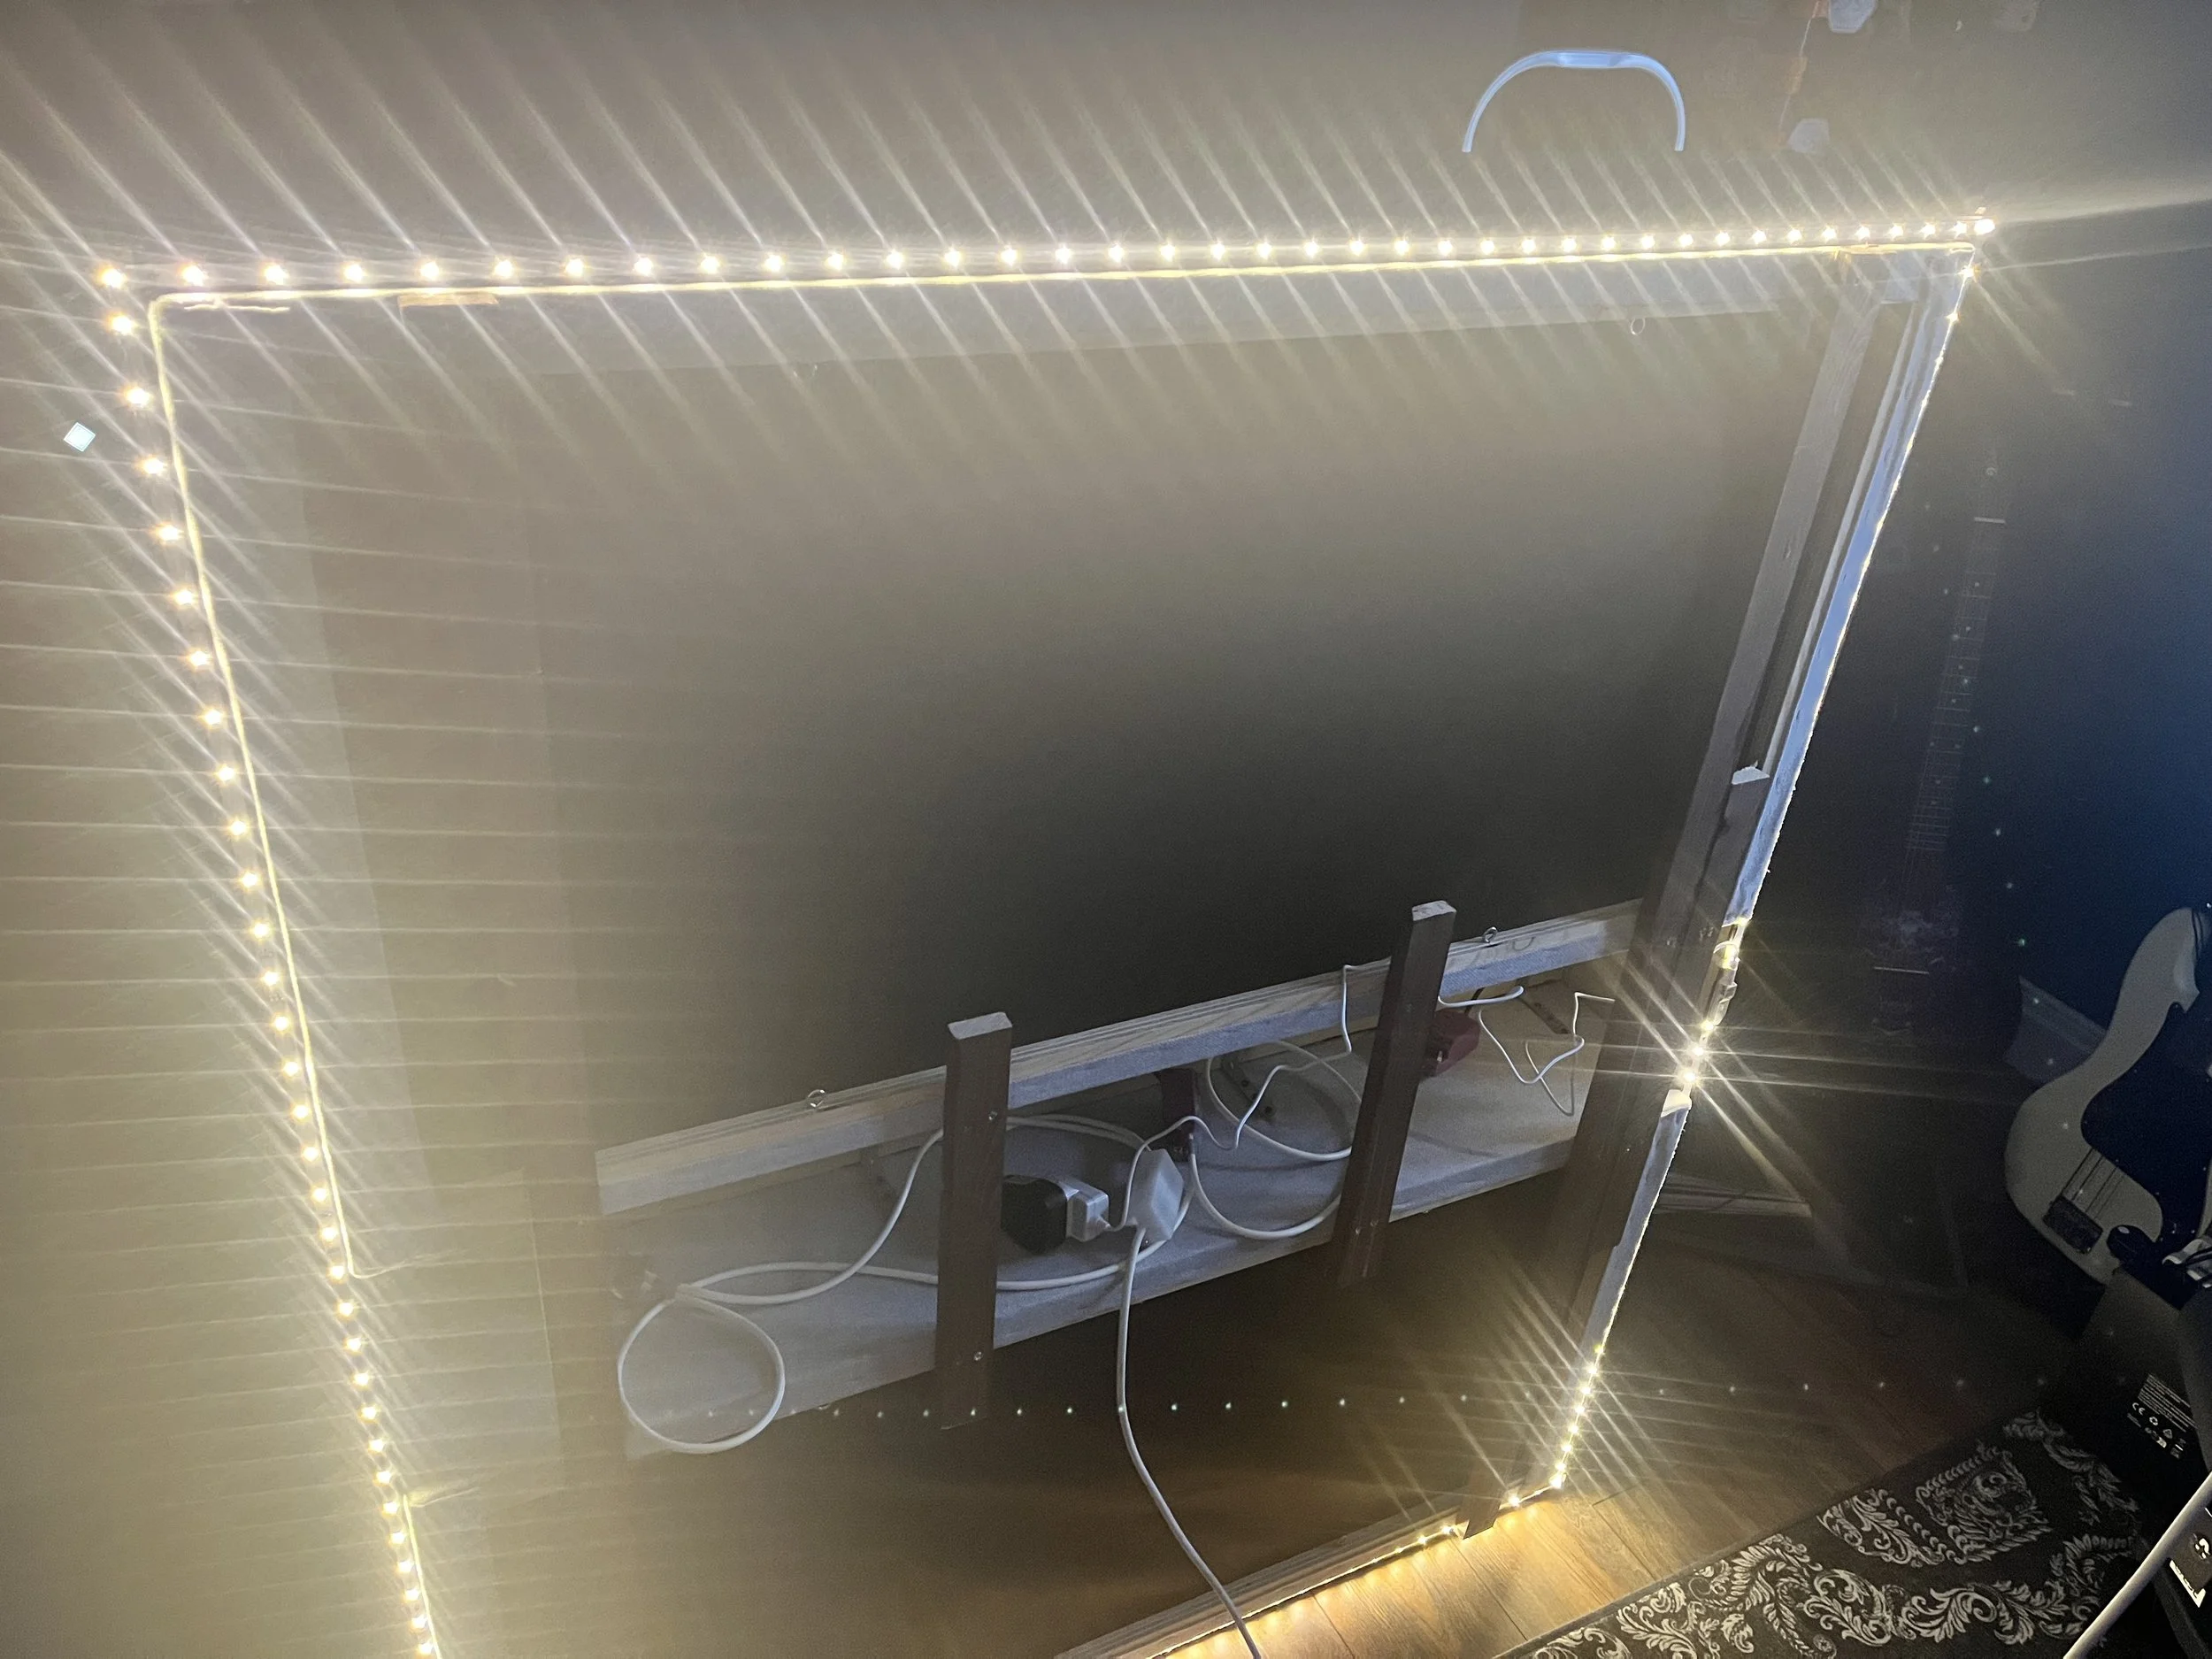
For acoustic performance, you generally get the best low-frequency absorption when the air gap behind the panel is similar to the depth of the panel itself. So we lowered the cloud to leave a good air gap, just slightly less than the panel depth to stay on the safe side.
With the chains, hanging the cloud was much easier. Once everything was lined up, we had it up in under a minute.
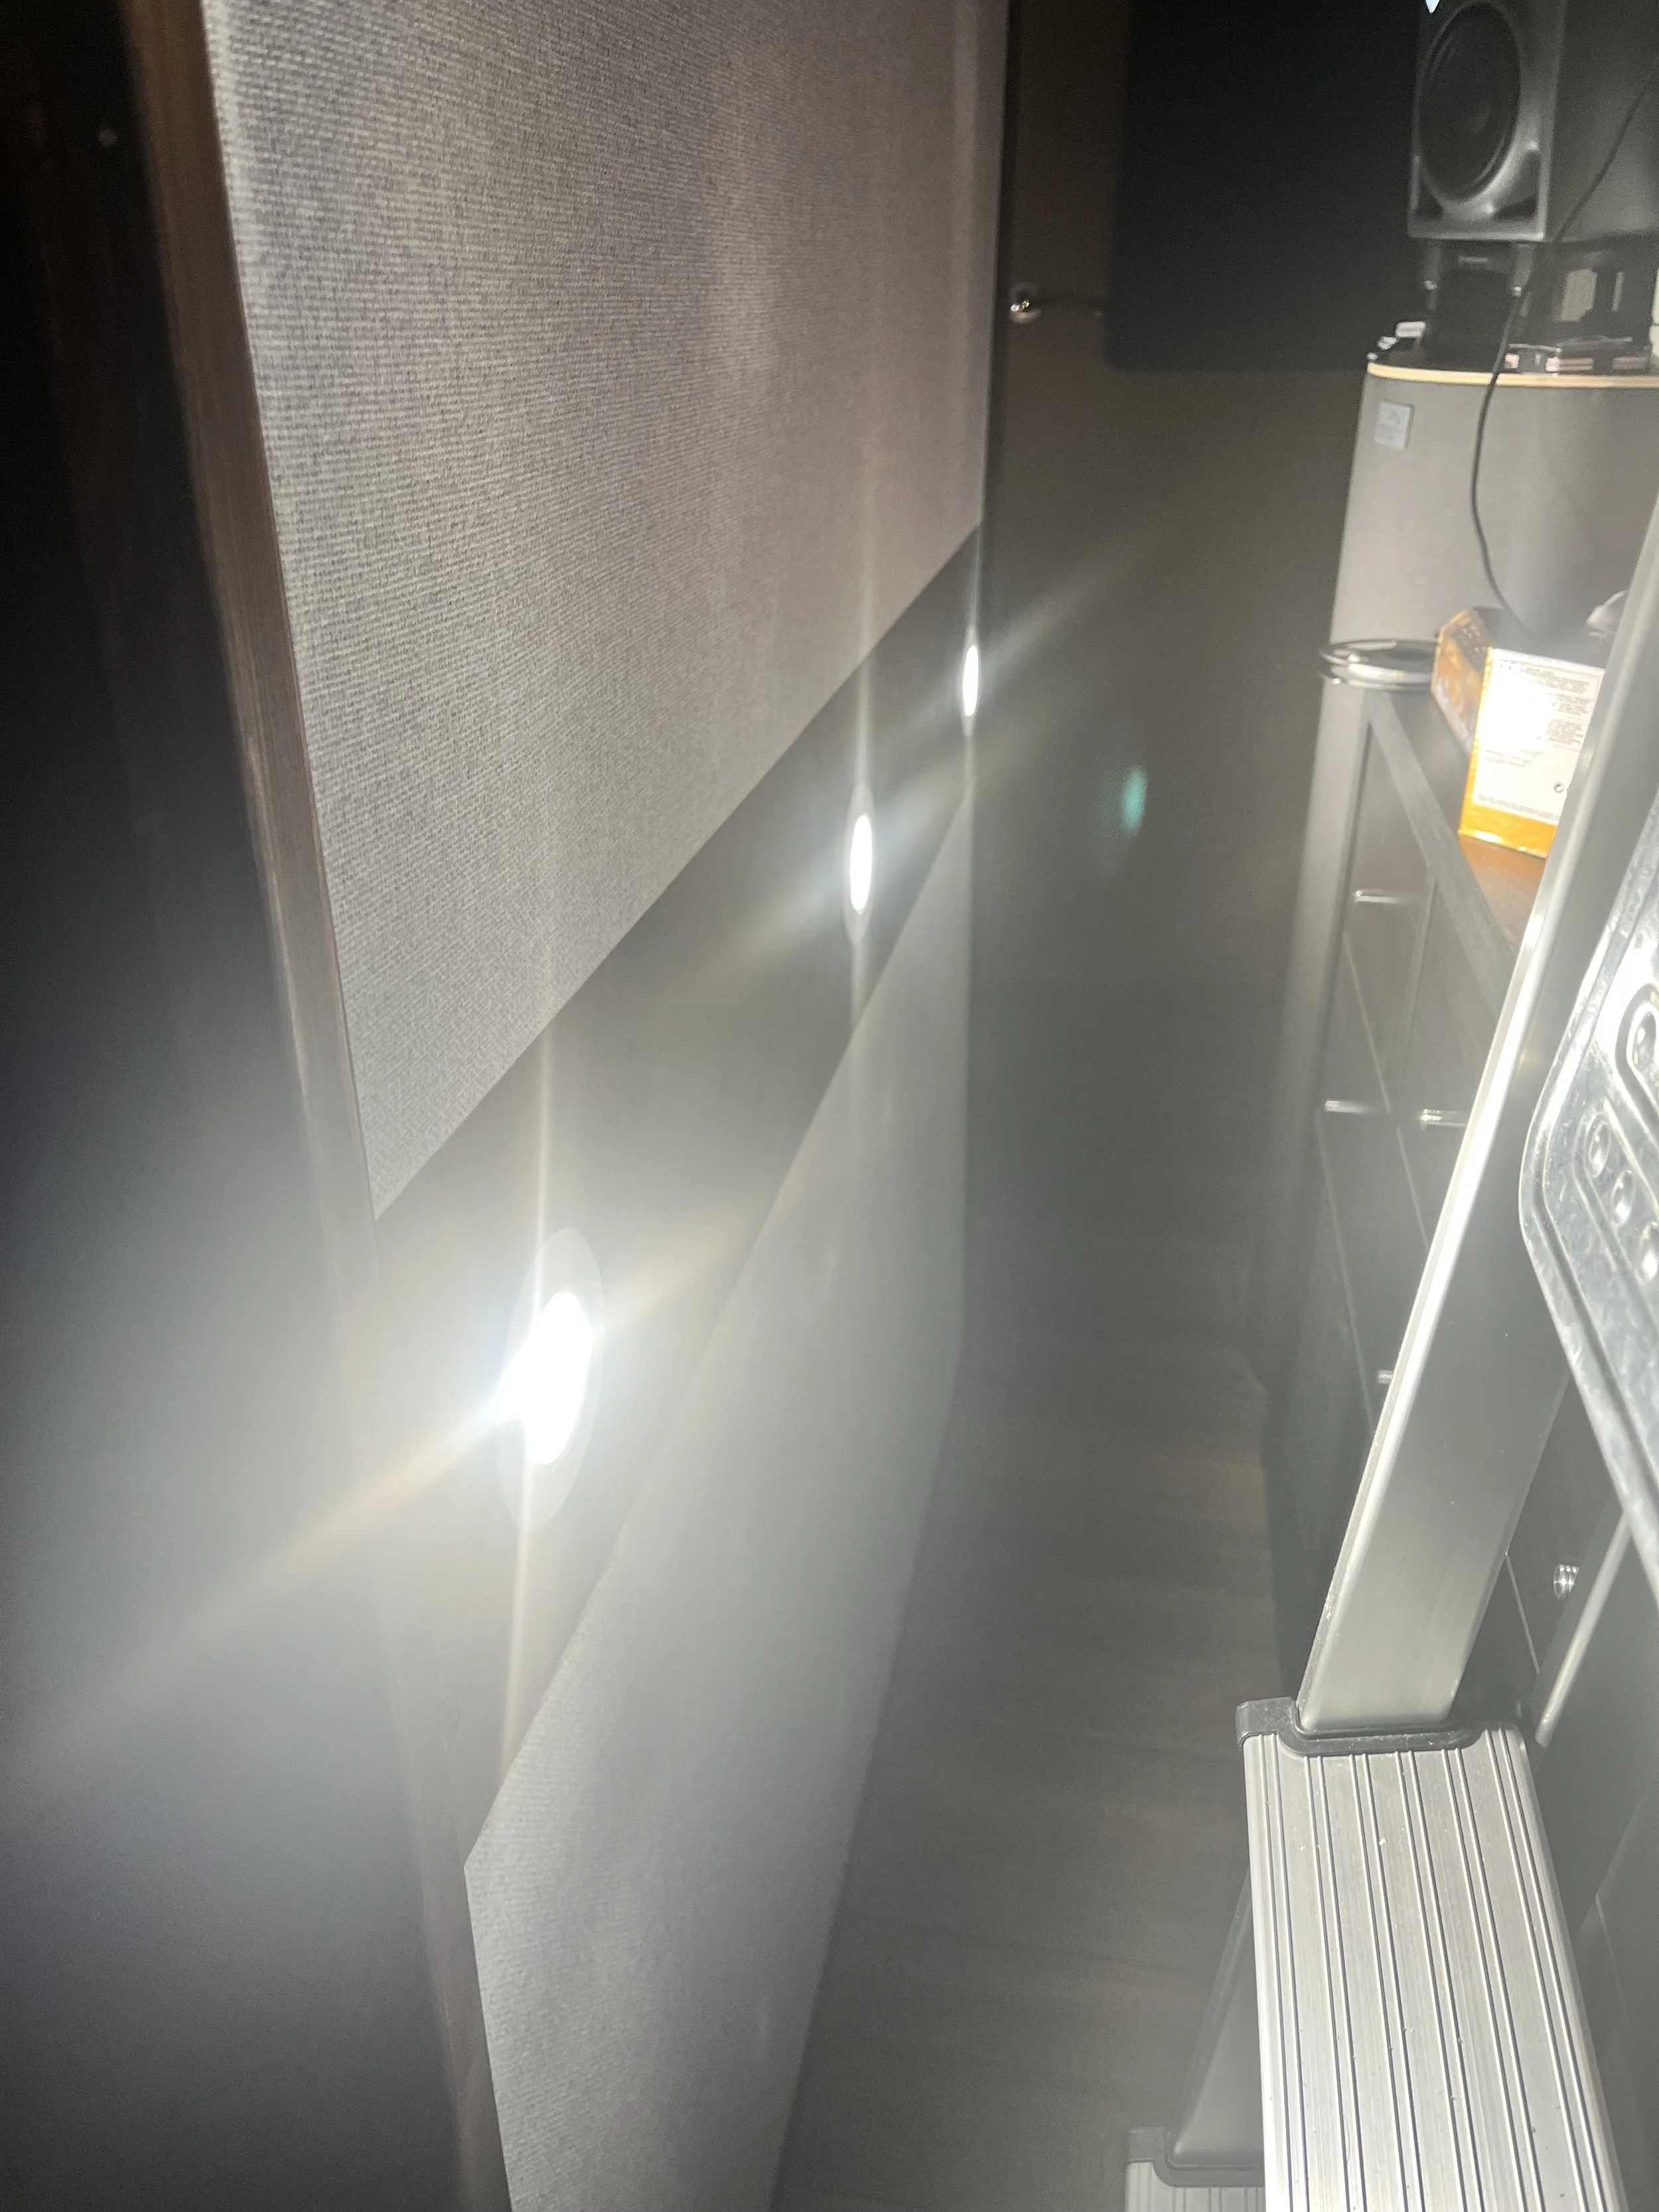
Ladders out in prep for hanging, two to lift and one to connect chains. Definitely a three man job.
The Finished Result
The finished ceiling cloud has completely changed the feel of the room.
It adds a lot of character visually, but it is also genuinely functional. It helps tighten up the sound at the listening position, deals with the slap echo from the ceiling, and provides ambient lighting that makes the room feel much better to work in.
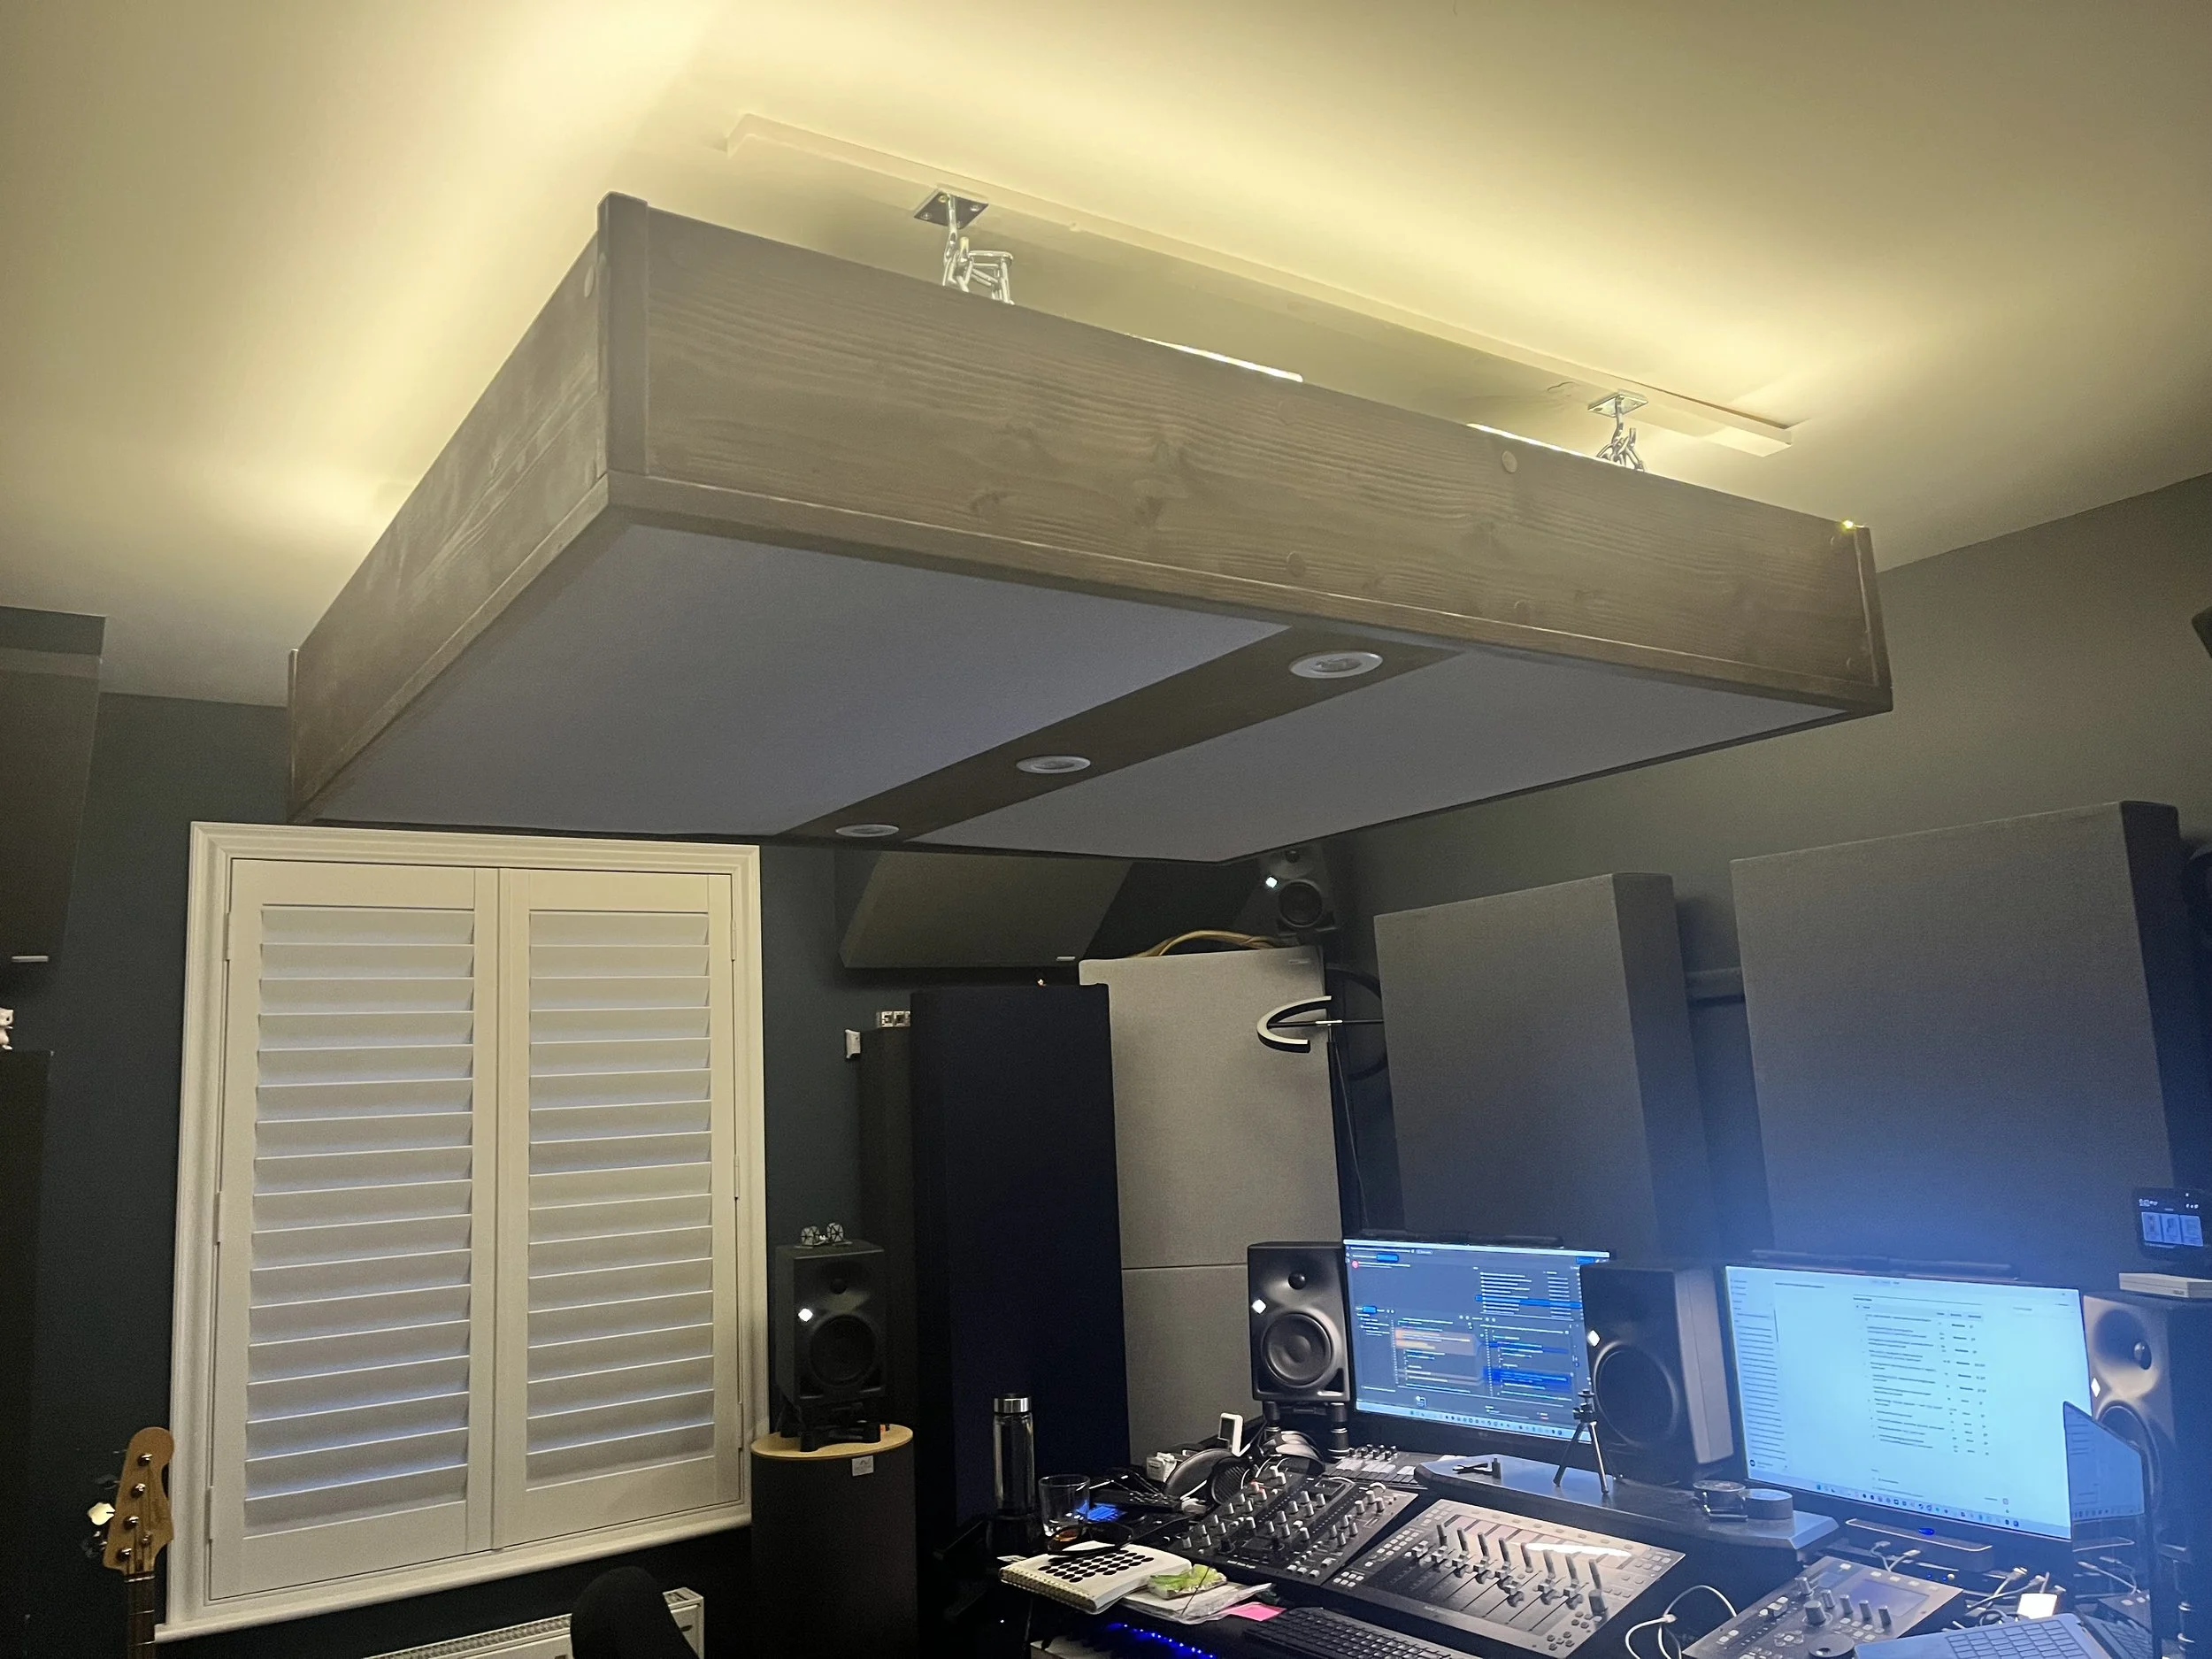
Finished ceiling cloud with led strip on and spotlights off
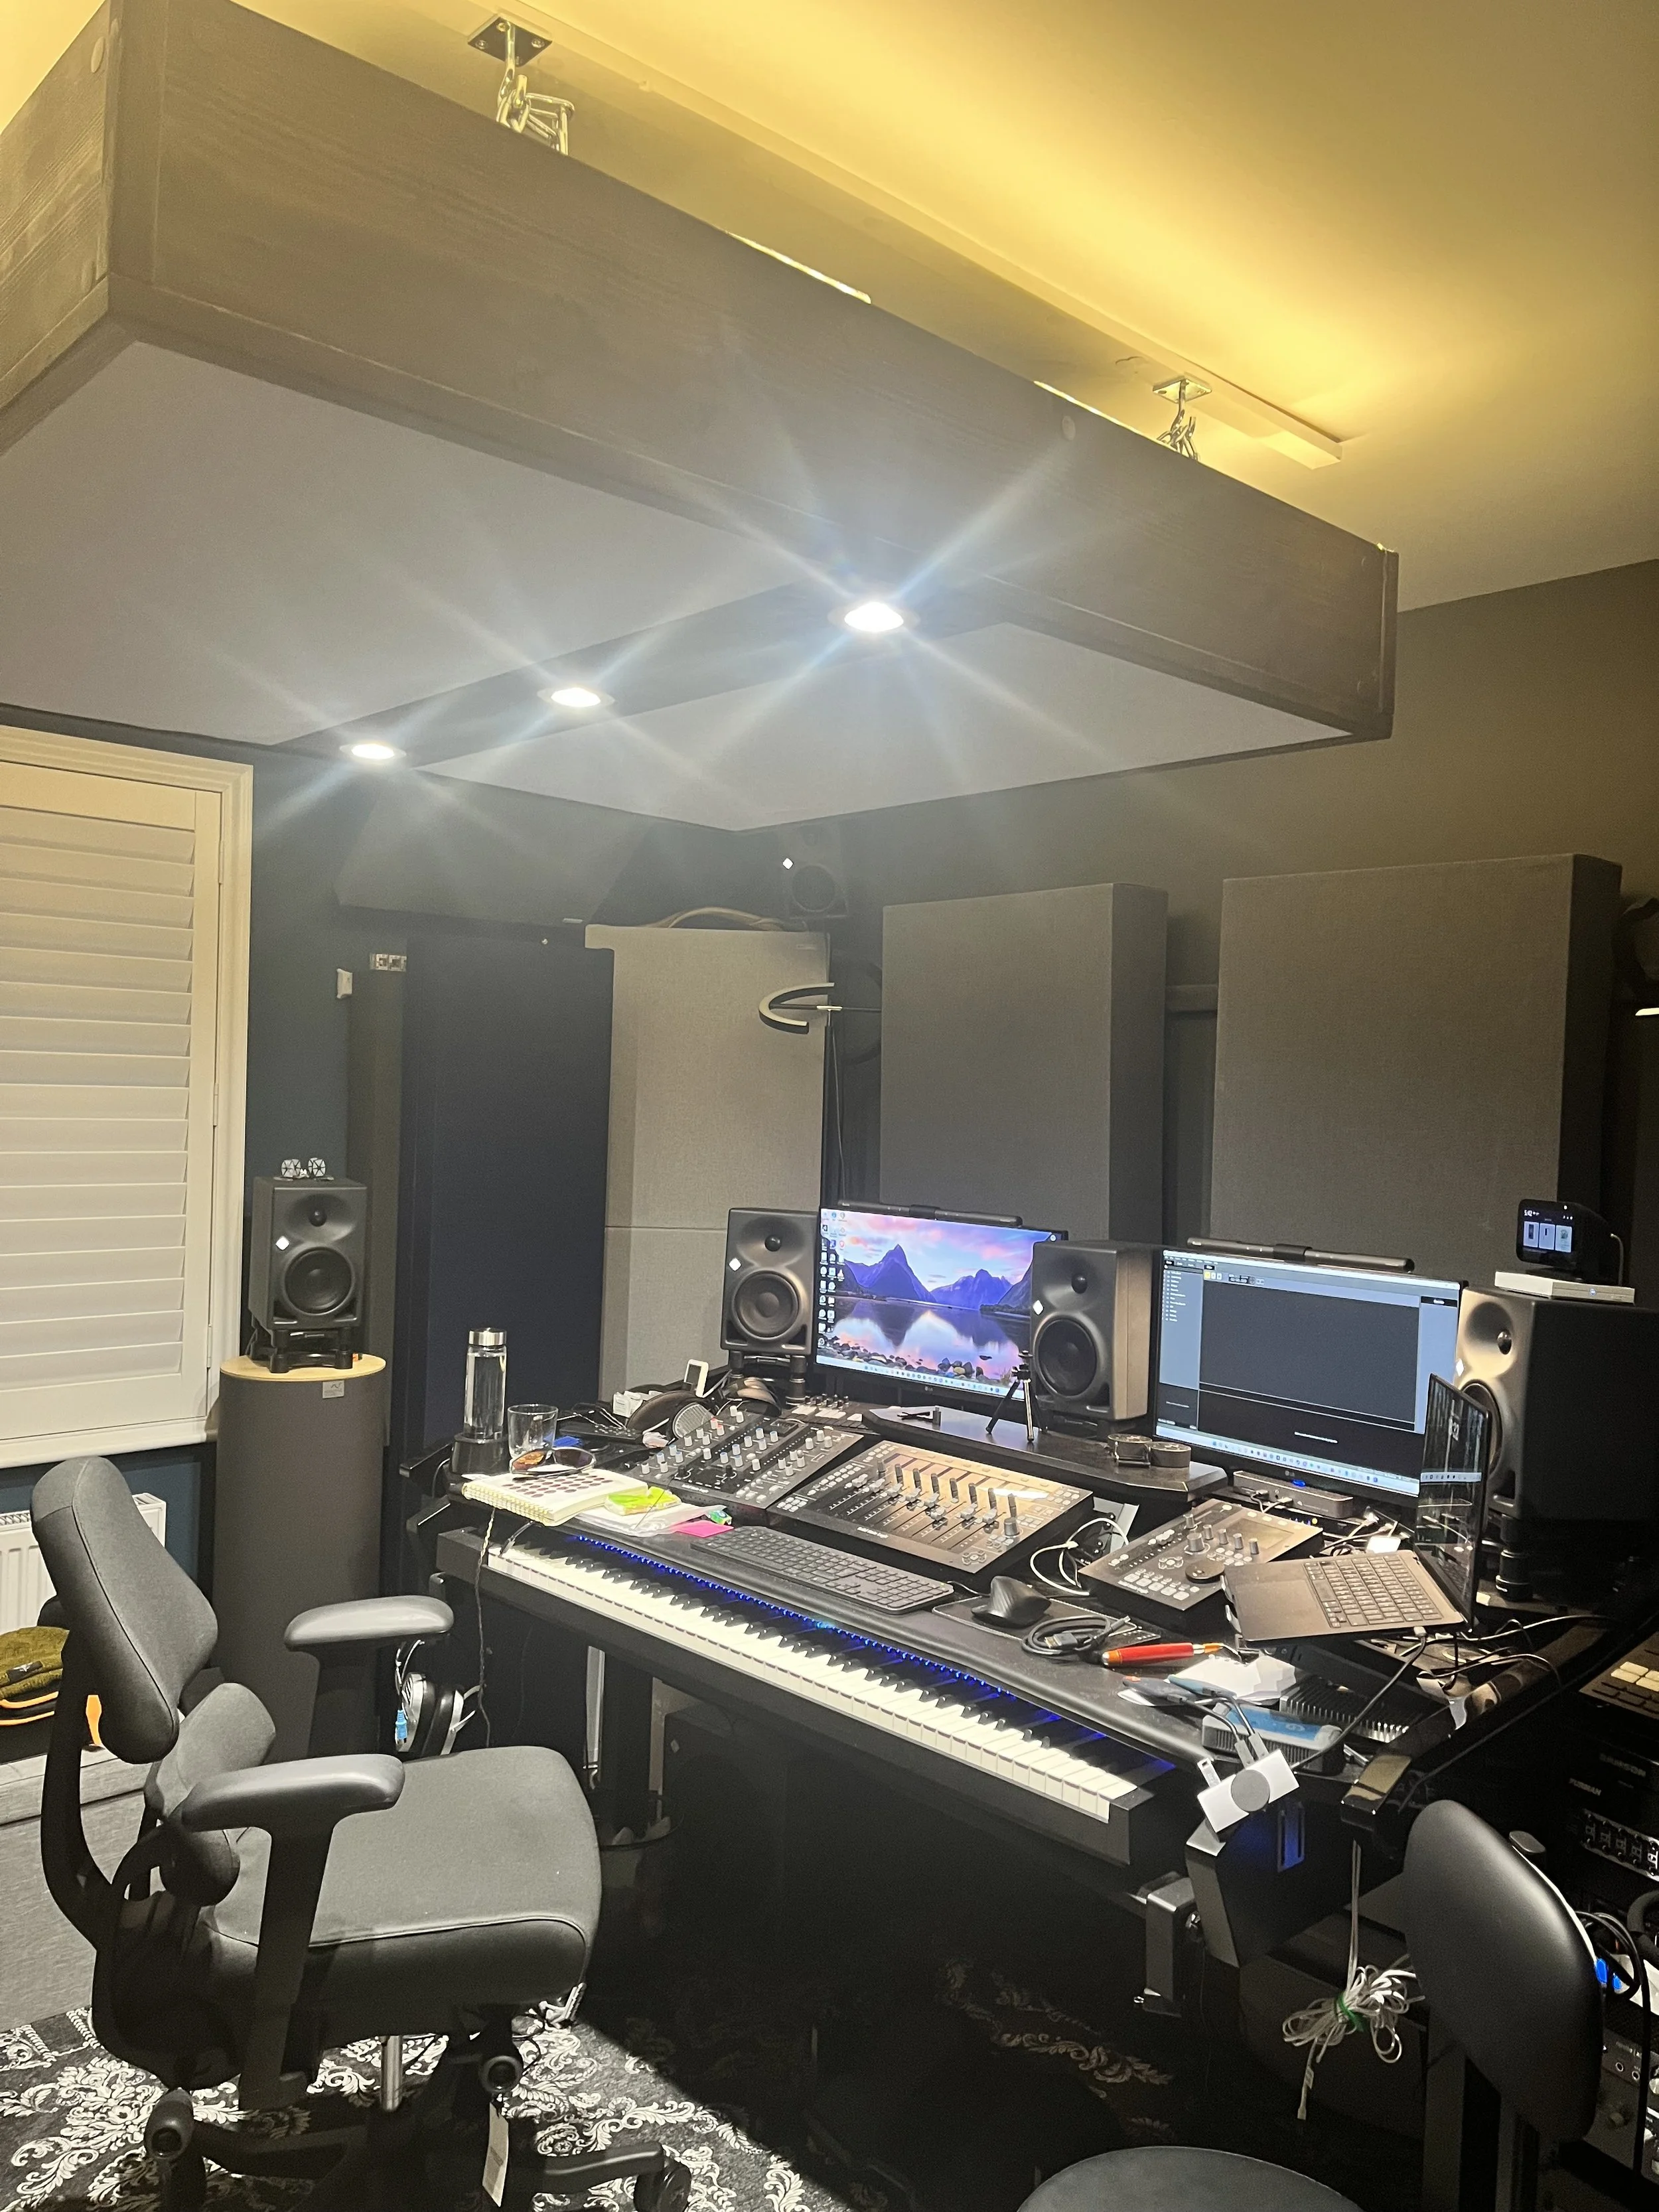
Finished ceiling cloud with led strip on and spotlights on
In the end, the DIY route probably worked out better than the original plan. It took more effort, and there were a few little problems to solve along the way, but the result feels much more personal. It suits the room, it sounds better, and it gives the studio the moody, rustic character I was after.
A ceiling cloud that doubles as a light?
Definitely worth the hassle.